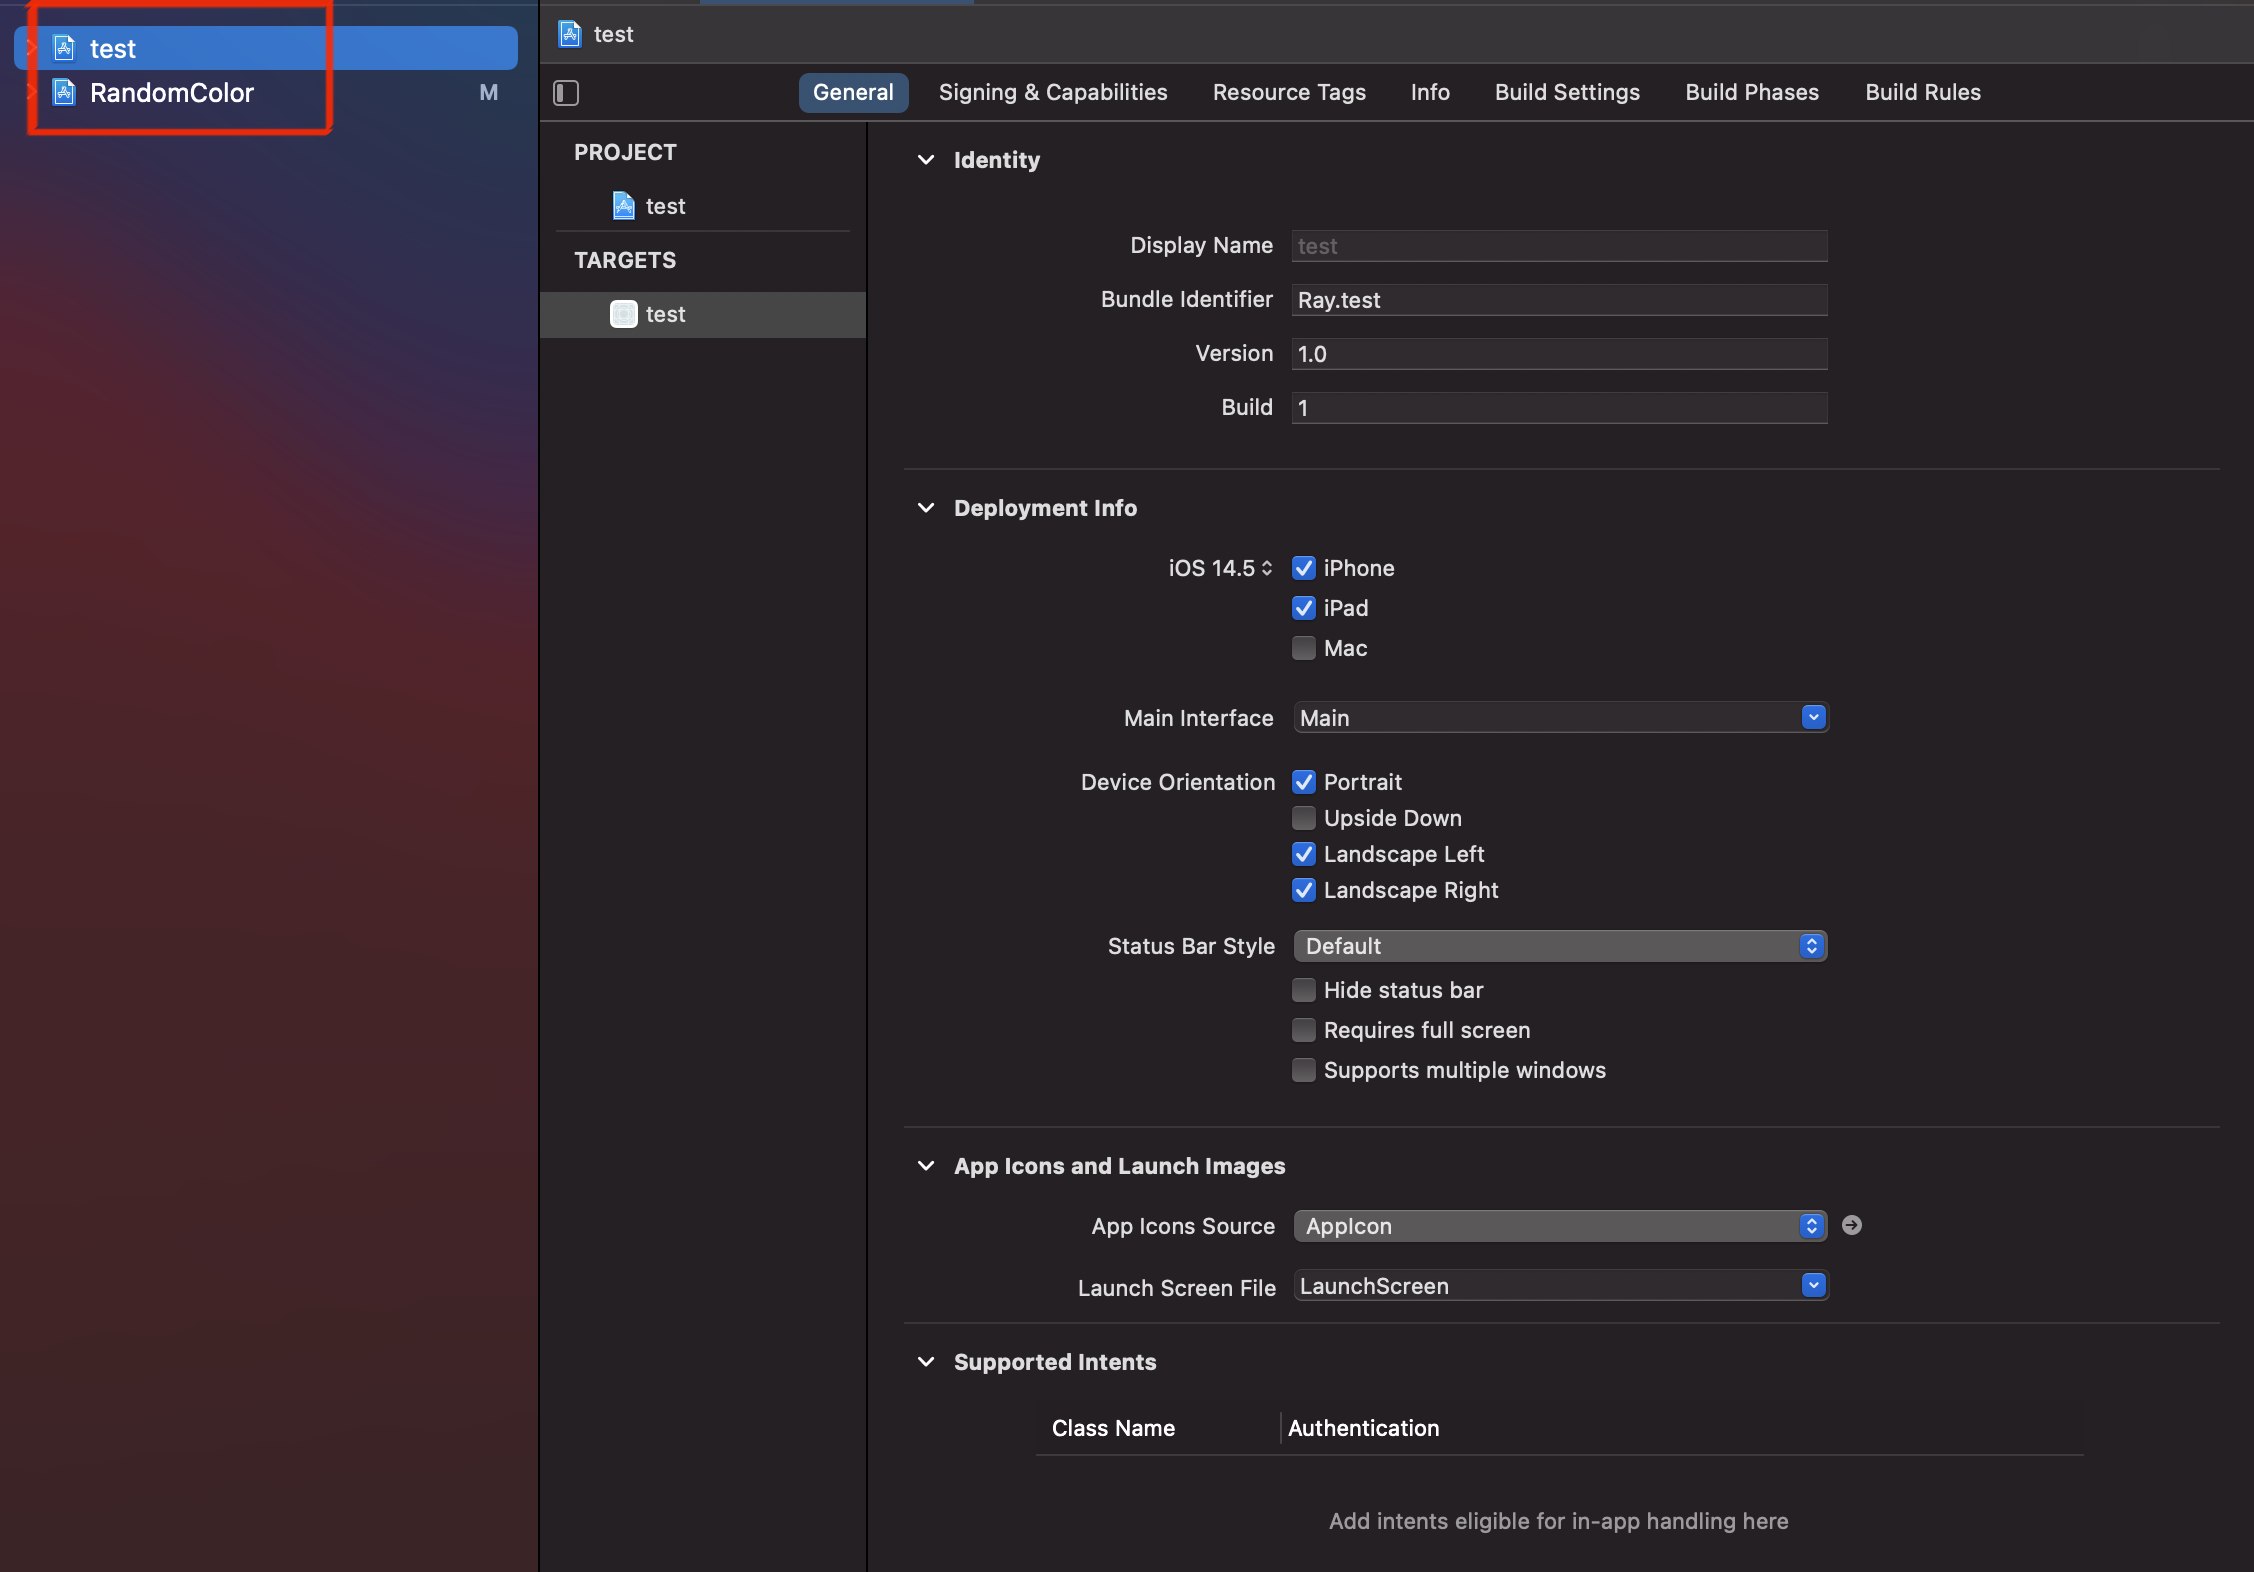
- 아래 사진과 같이 framework를 사용할 프로젝트와 RandomColor 프레임워크를 추가
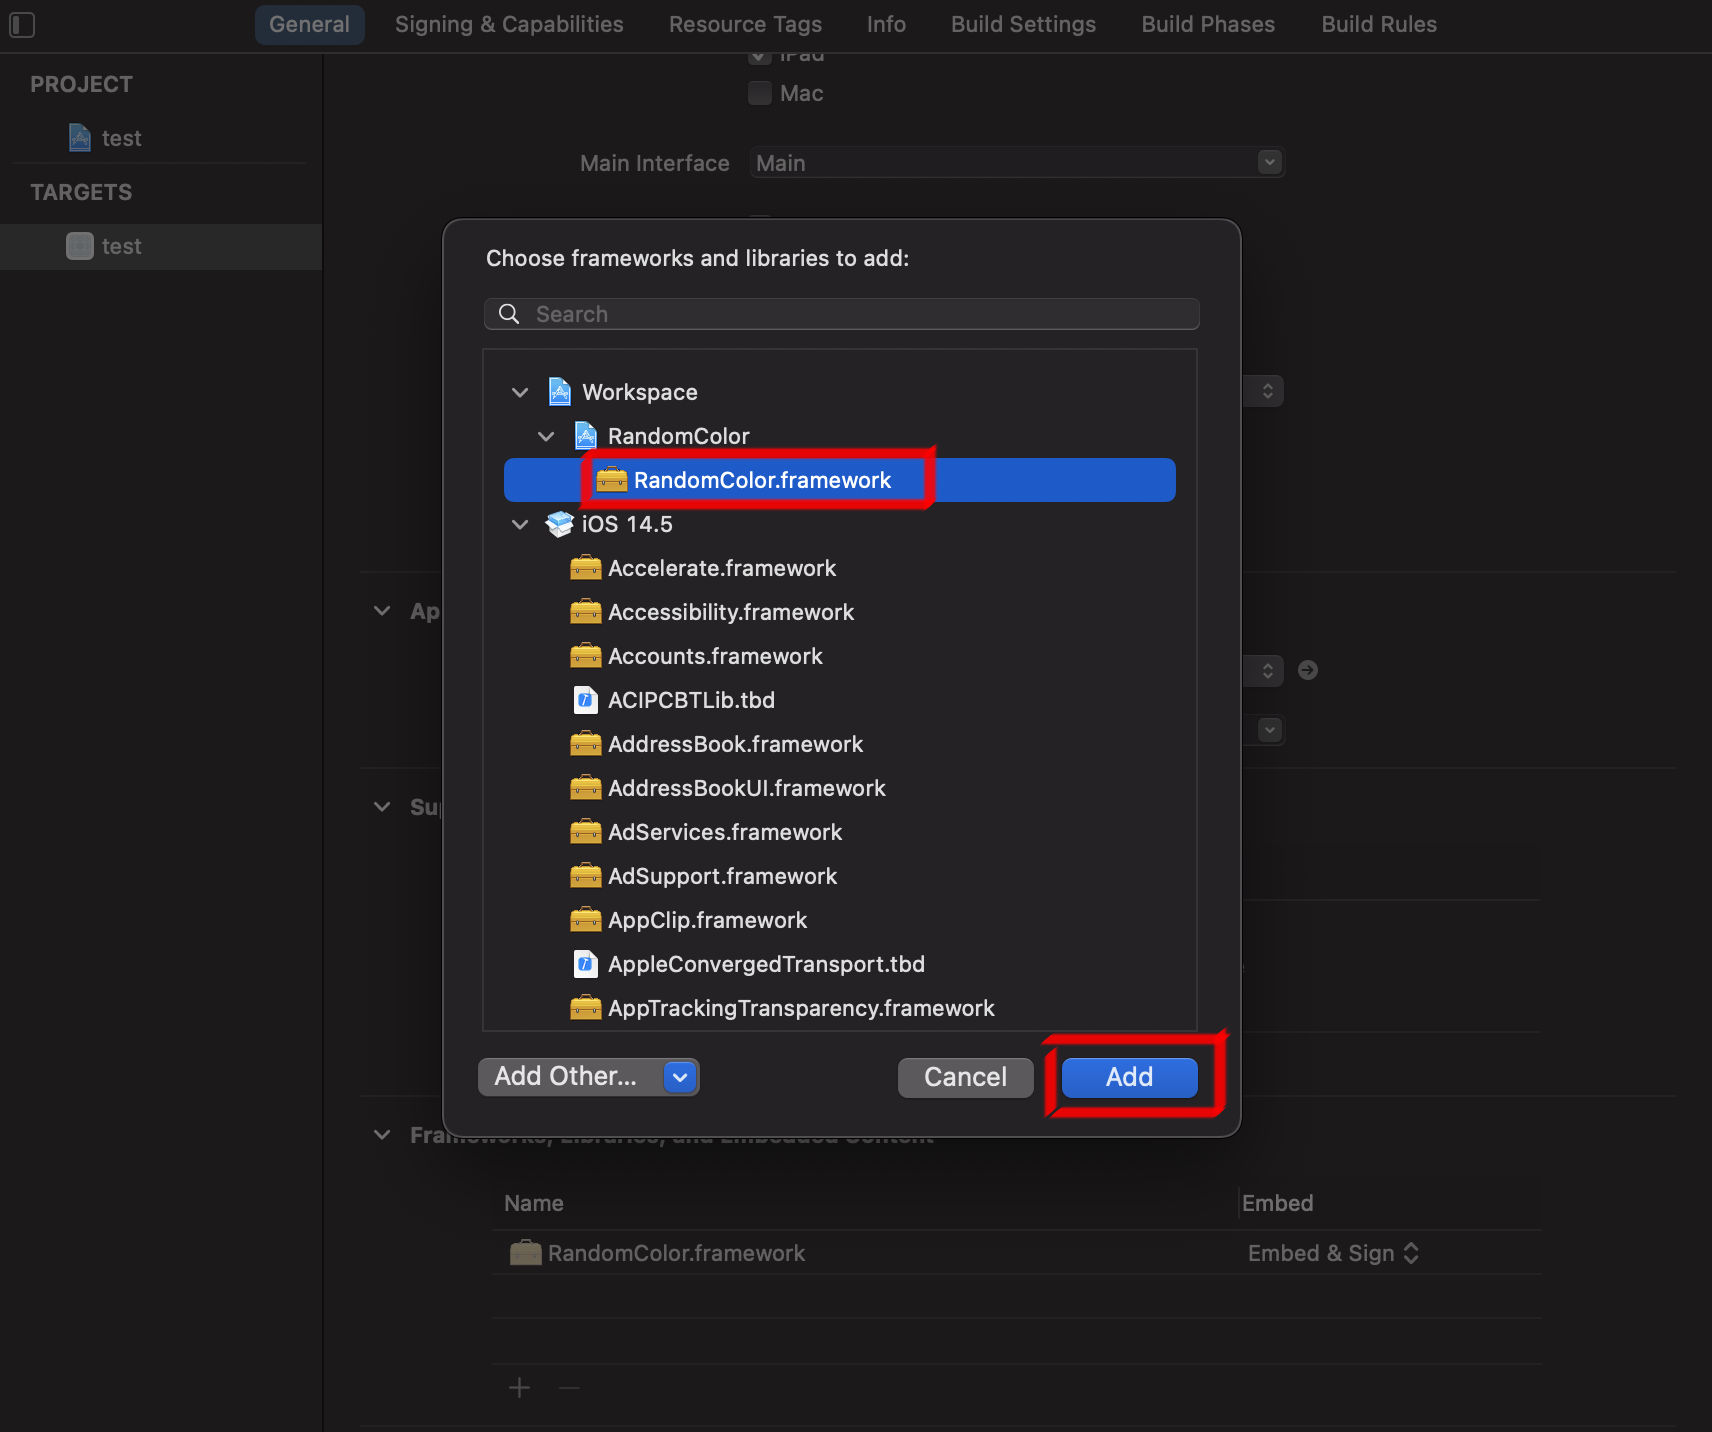
- 아래 사진과 같이 RandomColor Framework를 선택하고 추가
import UIKit
import RandomColor

class ViewController: UIViewController {

    private lazy var testView: UIView = {
        let testView = UIView(frame: CGRect(x: 100, y: 100, width: 100, height: 100))
        testView.backgroundColor = RC.color()
        return testView
    }()

    private lazy var testView1: UIView = {
        let testView = UIView(frame: CGRect(x: 210, y: 100, width: 100, height: 100))
        testView.backgroundColor = RC.color()
        return testView
    }()

    private lazy var testView2: UIView = {
        let testView = UIView(frame: CGRect(x: 100, y: 210, width: 100, height: 100))
        testView.backgroundColor = RC.color()
        return testView
    }()

    private lazy var testView3: UIView = {
        let testView = UIView(frame: CGRect(x: 210, y: 210, width: 100, height: 100))
        testView.backgroundColor = RC.color()
        return testView
    }()

    private lazy var testButton: UIButton = {
        let testButton = UIButton(type: .system)
        testButton.frame = CGRect(x: 150, y: 400, width: 100, height: 100)
        testButton.setTitle("색상변경", for: .normal)
        testButton.setTitleColor(RC.color(), for: .normal)
        testButton.backgroundColor = RC.color()
        testButton.addTarget(self, action: #selector(buttonTouched), for: .touchUpInside)
        return testButton
    }()

    override func viewDidLoad() {
        super.viewDidLoad()
        view.addSubview(testButton)
        view.addSubview(testView)
        view.addSubview(testView1)
        view.addSubview(testView2)
        view.addSubview(testView3)
    }

    @objc private func buttonTouched() {
        testView.backgroundColor = RC.color()
        testView1.backgroundColor = RC.color()
        testView2.backgroundColor = RC.color()
        testView3.backgroundColor = RC.color()
    }
}- 4개의 테스트뷰 생성 후, 배경색에 Random Color 설정
