Push Setup
Optimove SDK provides all functionality to handle push registration & notifications using FCM and APNS.
- Add
google-services.jsonfile from your Firebase app 'General' settings to the/Assets/OptimoveConfigFilesfolder of your Unity project. See below how to obtain the json. - in the
/Assets/Plugins/Android/baseProjectTemplate.gradlefile uncomment:
// classpath 'com.google.gms:google-services:4.3.14' - in the
/Assets/Plugins/Android/launcherTemplate.gradlefile uncomment:
 // implementation platform('com.google.firebase:firebase-bom:28.2.0')
 // implementation 'com.google.firebase:firebase-messaging'

 ...

// apply plugin: 'com.google.gms.google-services'No additional steps needed.
Set up an FCM project and configure push for your app.
Optimove requires a service account to execute campaigns for your FCM project. This service account should contain a custom role with just one permission - cloudmessaging.messages.create (you can read about custom roles here, about this specific permission here)
Follow these steps to generate this key:
- Go to your Google Cloud Platform console
- Navigate to IAM & Admin
- Navigate to Roles
- Click on "Create Role" at the top
- Fill the fields (As a name you can choose something like 'Optimove FCM')
- Click on "Add Permissions"
- Search for
cloudmessaging.messages.createand choose it - Click create
- Navigate to Service Accounts
- Click on "Create Service Account" at the top
- Select the custom role you created in 8
- Click done
- Click on the service account you generated
- Generate a key to this service account
If you have multiple App projects (for example, one for production and one for staging), you must perform this step for each project.
Please note it is the Google Service Account private key JSON file that needs to be uploaded to your mobile UI, not the Google Services JSON file you include in your app project.
Access your Optimove UI and select your app, then select Messaging, Configuration.
Access your Optimove dashboard and select 'Settings' then under the 'OptiMobile' section, select 'Mobile Push Config'
Click the cog icon in the row for Android and in the popup when prompted enter the credentials for FCM.
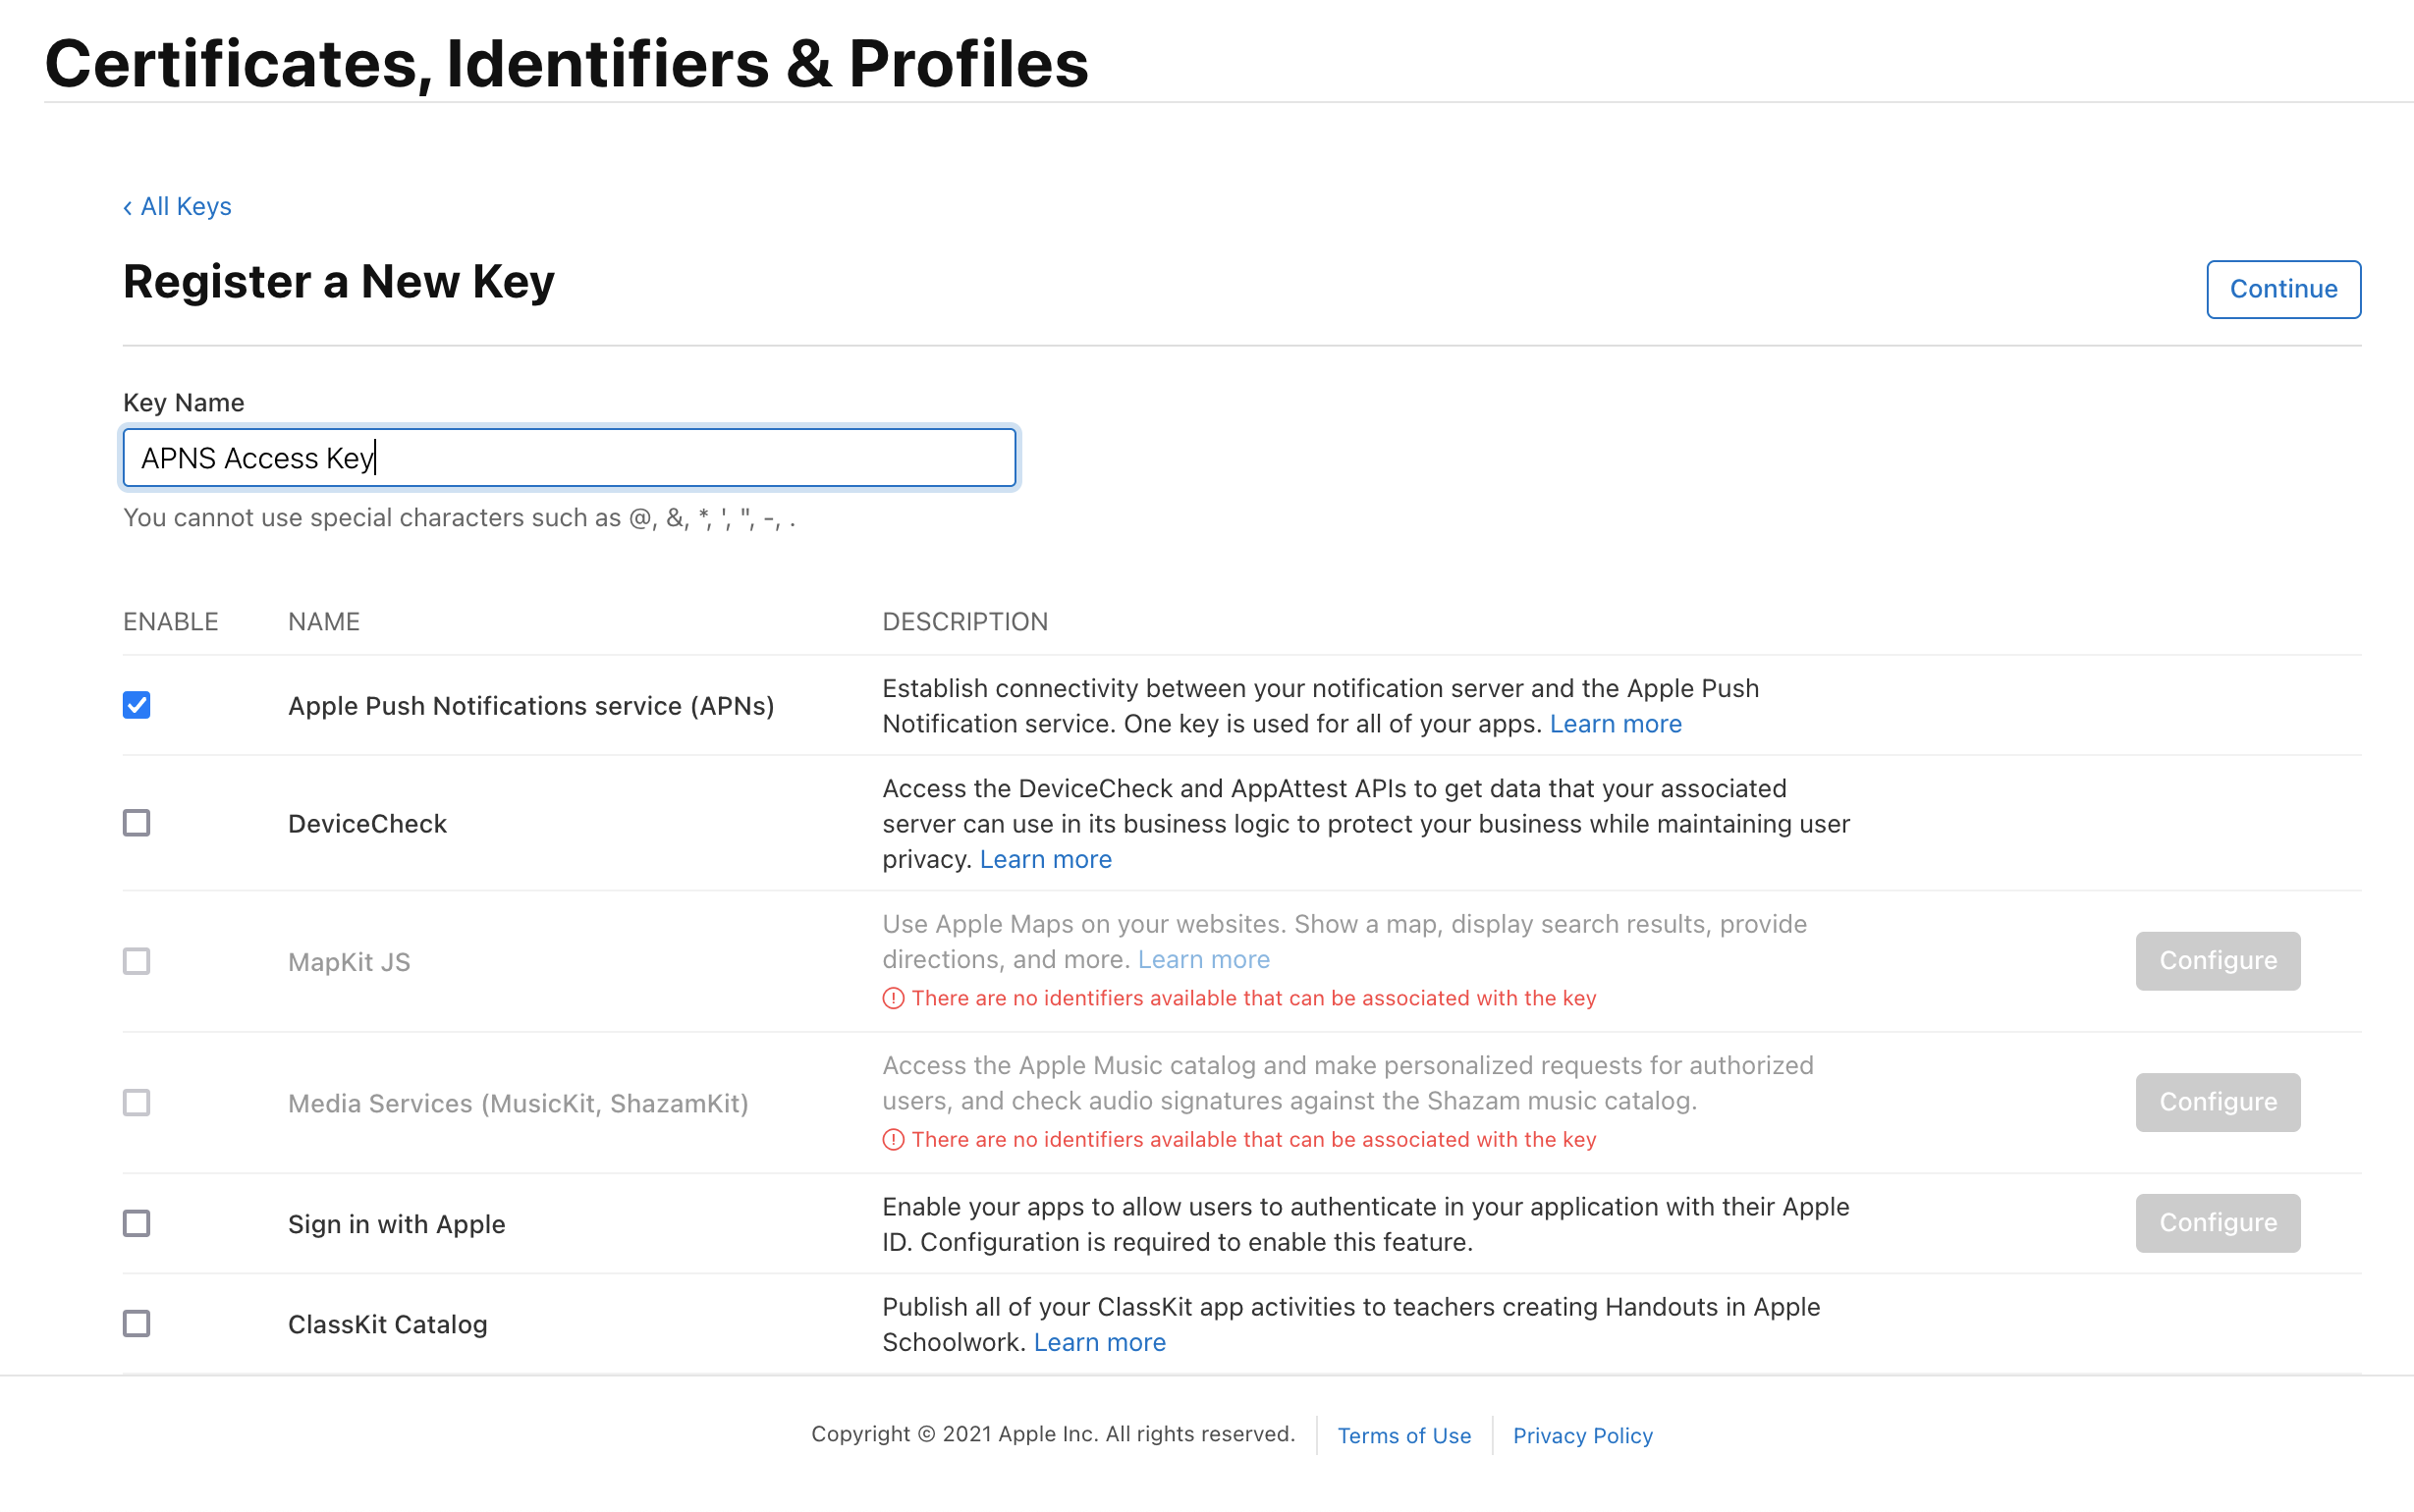
In order to generate a P8 key for Apple services first access your account at https://developer.apple.com/ and select 'Certificates, Identifiers & Profiles', then select 'Keys' on the left.

Select 'Create a Key' and on the form 'Register a New Key' enter a meaningful name such as 'APNS Access Key' and check the 'Enable' checkbox for 'Apple Push Notifications service (APNs)', click 'Continue'.
On the confirmation screen double check the APNs enablement is set then click 'Register'
On the final screen take note of your KeyID and download the key. Note that you can only download the key once, if lost the key must be revoked and re-created.
Downloading the key will save a .p8 file with the access credentials.
You now have all the details to configure your Mobile push channel. Access your Optimove dashboard and select 'Settings' then under the 'OptiMobile' section, select 'Mobile Push Config' and click the cog next to the Apple icon. Select APNs P8 and select your file, enter your other details and click 'Configure'.
To register for push notifications call:
Optimove.Shared.PushRegister();The following sample code shows how to use Optimove to handle push notifications.
Optimove.Shared.SetPushOpenedHandler((PushMessage push) => {
    // Called when a user taps on a push notification or its action buttons
});

Optimove.Shared.SetPushReceivedHandler((PushMessage push) => {
    // Called when a push is received with your app in the foreground
});
To unregister from push notifications call:
Optimove.Shared.PushUnregister();