
After this learning unit, you should be able to:
- Create a basic web application using Express.
- Use Mongoose in an Express application.
- Perform CR (create and read) actions on your database with a single Mongoose model through your web application.
- Fork this repo
- Clone your fork into your
~/code/labsfolder.
Upon completion, run the following commands:
$ git add .
$ git commit -m "done"
$ git push origin master
Navigate to your repo and create a Pull Request -from your master branch to the original repository master branch.
In the Pull request name, add your name and last names separated by a dash "-".
All the files that make your Express/Mongoose app work, including your drones.js routes file and your drone.js model file.
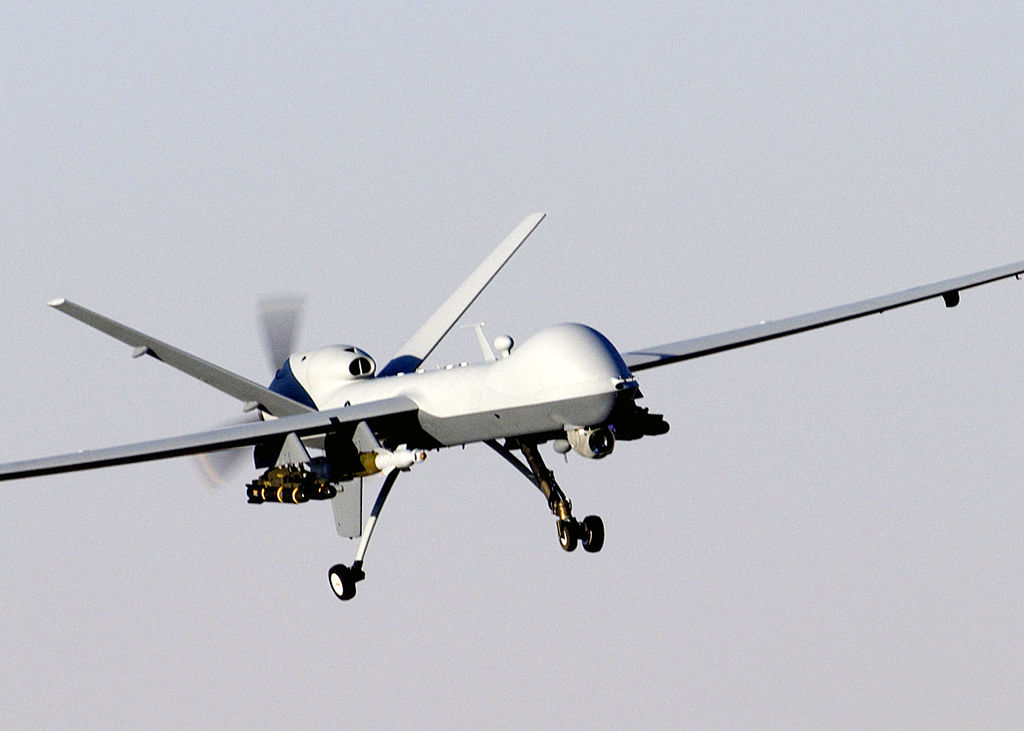
An unmanned aerial vehicle (UAV), commonly known as a drone, unmanned aircraft system (UAS), or by several other names, is an aircraft without a human pilot aboard. They can be controlled remotely by a person or autonomously by computers.
Though their origins lie in military applications, they are used in business, agriculture, science and for recreation.
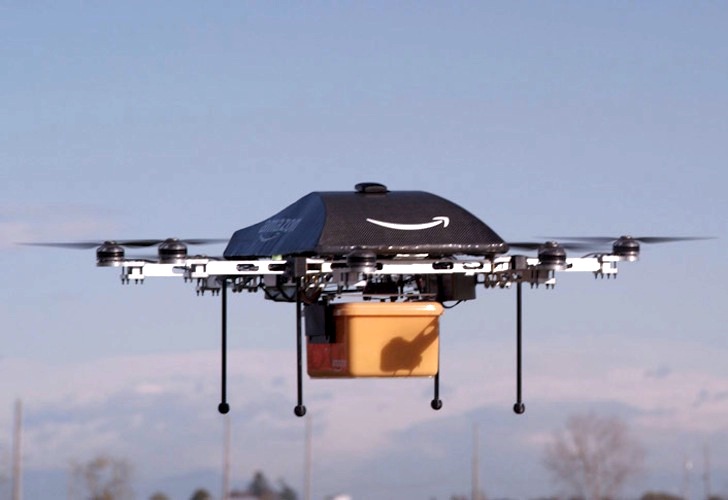
Amazon is even trying to use them to deliver packages.
Hopefully you won't have one of these after you:
Let's create an app for the drone enthusiast using Express and Mongoose! Maybe the drones will spare us when they take over everything.
The app will allow a user to keep track of their drone collection. They will be able to see a list of their drones, and add new ones to their collection.
Note that our starter code for this exercise is quite comprehensive. We've already used the Express generator to create the initial project structure. We've also created the models/ and views/drones/ folders, as well as the bin/seeds.js and routes/drones.js files.
starter-code/
├── .gitignore
├── app.js
├── bin
│   ├── seeds.js
│   └── www
├── models
│   └── .keep
├── package.json
├── public
│   ├── images
│   ├── javascripts
│   └── stylesheets
│       └── style.css
├── routes
│   ├── drones.js
│   ├── index.js
│   └── users.js
└── views
    ├── drones
    │   └── .keep
    ├── error.ejs
    ├── index.ejs
    └── layout.ejs
The routes/drones.js file contains the routes we will be using for exercise, but the callbacks are all empty. You will be writing the code that goes inside them.
Finally, we've done some initial wiring in the app.js file. We've required Mongoose and connected to the drones-dev database on localhost:
// ...
const mongoose = require('mongoose');

// ...

mongoose.connect('mongodb://localhost/drones-dev');

// ...
And we've also done the wiring between the app.js and the drones routes:
// ...

var index = require('./routes/index');
var users = require('./routes/users');
// DRONES routes!
const drones = require('./routes/drones');

// ...

app.use('/', index);
app.use('/users', users);
// Wire the drones routes with the app
app.use('/', drones);

// ...
Now that we know what we are starting with, let's get to coding!
Our first step is to create the Drone model and seed some initial drones in our database.
The Drone model should have:
droneName- String (name of the drone model, like General Atomics MQ-9 Reaper)propellers- Number (amount of propellers, like 4)maxSpeed- Number (meters per second for the drone's maximum speed, like 18)
- Create the
drone.jsmodel file in themodels/folder. - In the
drone.jsmodel file:- Create the drone schema with
droneName,propellersandmaxSpeed. - Create the
Dronemodel with the schema. - Export the
Dronemodel.
- Create the drone schema with
- In the
bin/seeds.jsfile:- Create an array of 3 objects, each with
droneName,propellersandmaxSpeedfor our initial drones. - Call the
Dronemodel'screatemethod with the array as argument. - In the
createmethod's callback, display feedback.
- Create an array of 3 objects, each with
- Run the seed file with
nodeto seed your database. - Check the database with the
mongocommand to confirm that your data was saved.
Before your start using the model in Step 4, you need to require Mongoose, require the Drone model and call Mongoose's connect method to connect to the database.
For the drones array in Step 4, it should look something like this:
const droneData = [
  { droneName: 'Creeper XL 500', propellers: 3, maxSpeed: 12 },
  { droneName: 'Racer 57', propellers: 4, maxSpeed: 20 },
  { droneName: 'Courier 3000i', propellers: 6, maxSpeed: 18 }
];
Also for Step 4, you should check for the error in the callback and throw it if it's there. If there's no error, it would be good to loop through the newly saved drones and display their IDs.
Before Step 5, remember to call Mongoose's disconnect method in the create callback. Otherwise your seeds script will just keep the connection open and never finish.
For Step 6, you can confirm that your drones are saved by running this Mongo query:
> db.drones.find()Now that we've got some drones in the database, we can start working with them in our Express app. Let's display a list of all the drones.
Here's the route we will be using:
| Route | HTTP Verb | Description |
|---|---|---|
/drones |
GET | Show all drones |
- Locate the
/dronesGET route inroutes/drones.js. - In the route callback:
- Call the
Dronemodel'sfindmethod to retrieve all the drones. - If there's an error, call the route's
nextfunction and return. - If there isn't an error, render the
drones/indexview. - Pass the variable with the array of drones into the view.
- Call the
- Create the
index.ejsview file inside theviews/drones/folder. - In the
views/drones/index.ejsview file:- Add an
<h2>tag for the page's heading. - Use a
forEachloop to display tags with each drone'sdroneName,propellers, andspeed.
- Add an
- In the
views/index.ejs(homepage) view file:- Add a link that goes to the
/dronesroute.
- Add a link that goes to the
For Step 2, this will be the first time you use the Drone model in a route. Remember to require the models/drone.js file to be able to use it.
For Step 4, you'll need a forEach loop like this one (assuming your array of drones is named drones):
<ul>
  <% drones.forEach((aDrone) => { %>
    <!-- display info from aDrone -->
  <% }) %>
</ul>Now that we have a list of drones, now we can focus our attention on saving new drones to our database.
Here are the routes we will be using:
| Route | HTTP Verb | Description |
|---|---|---|
/drones/new |
GET | Show a form to create a drone |
/drones |
POST | Save a drone to the database |
- Locate the
/drones/newGET route inroutes/drones.js: - In that route's callback:
- Render the
drones/newview.
- Render the
- Create the
new.ejsview file inside theviews/drones/folder. - In the
views/drones/new.ejsview file:- Add an
<h2>for the page's heading. - Add a
<form>tag that makes a POST request to/drones. - Add
<input>tags inside the<form>tag for a new drone'sdroneName,propellersandmaxSpeed - Add a
<button>tag inside the<form>tag so that it can be submitted.
- Add an
- In the
views/drones/index.ejsview file:- Add a link that goes to the
/drones/newroute.
- Add a link that goes to the
- Locate the
/dronesPOST route inroutes/drones.js. - In that route's callback:
- Create an object with keys for
droneName,propellersandmaxSpeed. - Values for those keys should come from the form submission (
req.body). - Create an instance of the
Dronemodel with the object you made in the previous step. - Call the
savemethod to save the new drone to the database. - If there's an error, call the route's
nextfunction and return. - If there isn't an error, redirect to the list of drones page (GET
/drones).
- Create an object with keys for
For Step 4, your form will look something like this:
<form method="post" action="/drones">
  <div>
    <label for="drone-name"> Model Name: </label>
    <input type="text" name="droneName" id="drone-name">
  </div>

  <div>
    <label for="propellers"> Propellers: </label>
    <input type="number" name="propellers" id="propellers">
  </div>

  <div>
    <label for="max-speed"> Maximum Speed (meters per second): </label>
    <input type="number" name="maxSpeed" id="max-speed">
  </div>

  <button> Add this drone </button>
</form>Our app should be pretty ugly right now if you (correctly) focused on the back-end during this exercise. To be a fully functioning web app, we need to add some styles.
In your layout require bootstrap, and add some very basic styles to make our drones app look ready for production.
/Happy coding!