![]()
A comprehensive user interface for MongoDB Atlas, providing both a web-based UI and CLI tool for managing MongoDB Atlas resources.
📚 Full Documentation on Read the Docs
- Web UI: FastAPI-based web interface for MongoDB Atlas management
- CLI Tool: Command-line interface for Atlas operations
- Complete API Coverage: Built from official MongoDB Atlas OpenAPI specifications
- Modern Stack: FastAPI, Typer, Rich, and modern Python tooling
- Secure Authentication: Supports both API keys (recommended for full functionality) and service accounts (project-scoped only)


This UI provides access to all MongoDB Atlas administration APIs including:
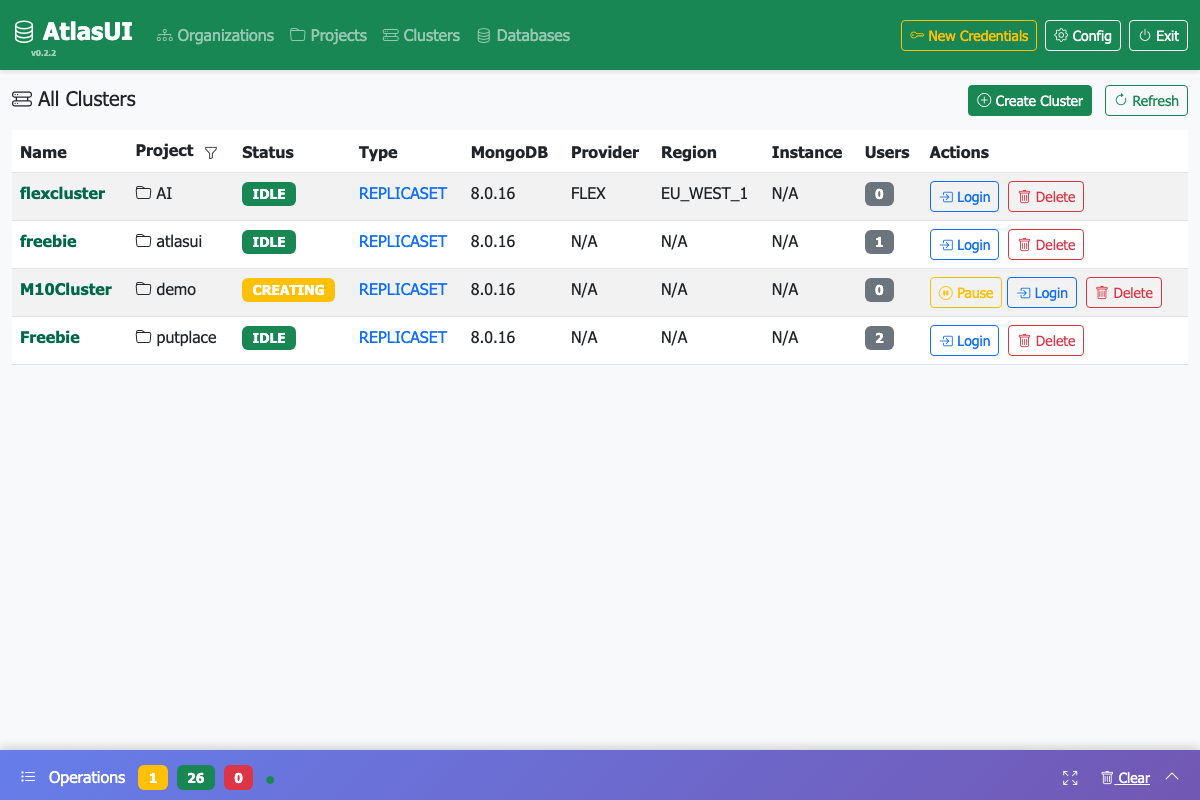
- Clusters: Create, configure, and manage MongoDB clusters
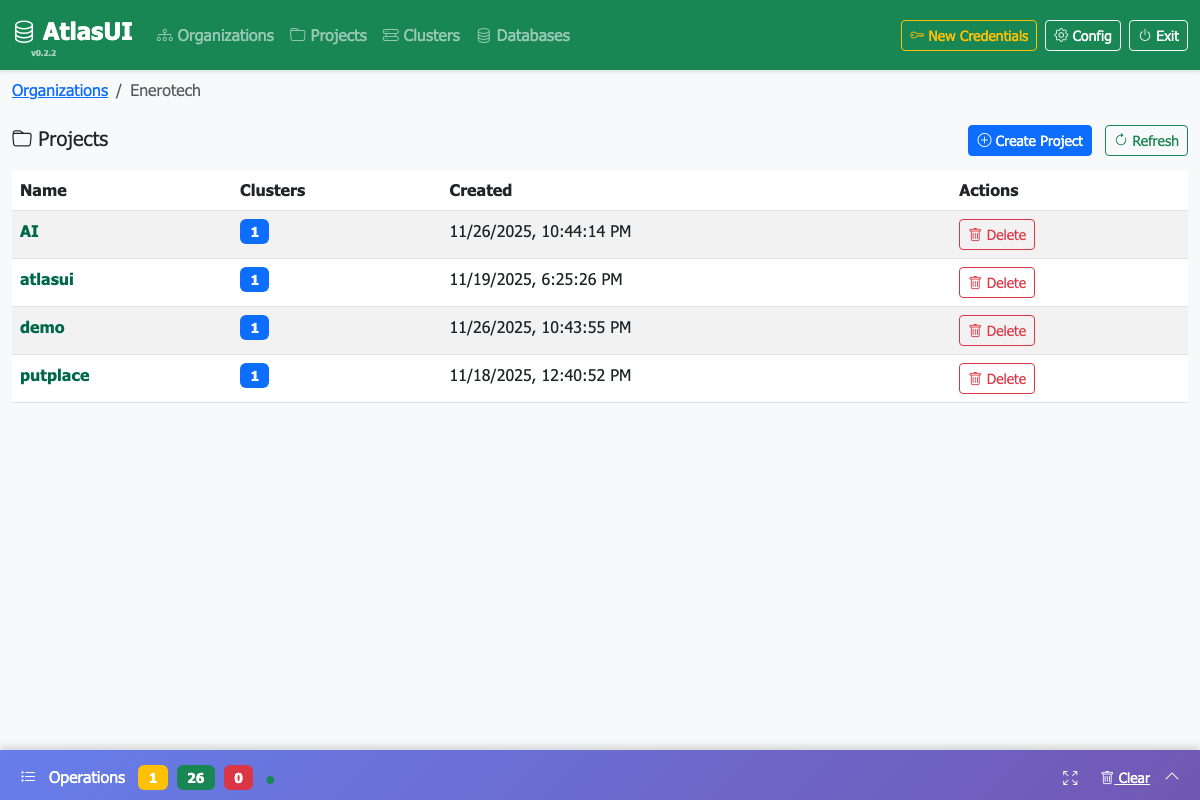
- Projects: Manage Atlas projects and organizations
- Backup & Restore: Configure backups and restore operations
- Alerts: Set up and manage alert configurations
- Access Control: Manage users, roles, and API keys
- Monitoring: View metrics and performance data
- Federation: Configure identity providers and SSO
- Network Access: Manage IP access lists and private endpoints
# Install from PyPI
pip install atlasui

# Or install from source
pip install -e .

# With development dependencies
pip install -e ".[dev]"

# With documentation dependencies
pip install -e ".[docs]"AtlasUI provides an interactive configuration tool that guides you through the setup process.
Run the interactive configuration wizard:
atlasui-configureThis wizard will:
- Help you choose between API Keys (recommended) and Service Accounts
- Explain the limitations and benefits of each method
- Guide you through entering your credentials
- Create and configure your
.envfile automatically - Test your connection to verify everything works
AtlasUI supports two authentication methods. Both provide the same capabilities - full access to one organization including all projects and clusters. The key difference is the authentication approach:
Best for: Simple setup, traditional workflows
API keys provide organization-level access using traditional digest authentication:
- Manage a single organization in your Atlas account
- Access all projects within that organization
- Control all clusters within those projects
- Simpler setup process
- HTTP Basic Auth (Digest)
Quick start:
atlasui-configure
# Choose option 1 (API Keys)
# Follow the wizard instructions
How to get API keys:
- Go to your organization's API Keys page:
- Direct link:
https://cloud.mongodb.com/v2#/org/<Organization ID>/access/apiKeys - Or navigate: https://cloud.mongodb.com/v2#/preferences/organizations → Select organization → Access Manager → API Keys
- Direct link:
- Click Create API Key
- Set permissions: Organization Owner
- Copy the Public Key and Private Key
- Add your IP address to the API Key whitelist
Best for: Modern applications, higher security requirements
Service accounts provide the same organization-level access as API Keys using modern OAuth 2.0:
- Access all projects within the organization
- Control all clusters within those projects
- Modern OAuth 2.0 authentication with JWT tokens
- More secure token-based authentication
- Industry-standard authentication approach
Setup:
atlasui-configure
# Choose option 2 (Service Account)
# Follow the wizard instructions
How to get service account credentials:
- Go to your organization's Service Accounts page:
- Direct link:
https://cloud.mongodb.com/v2#/org/<Organization ID>/access/serviceAccounts - Or navigate: https://cloud.mongodb.com/v2#/preferences/organizations → Select organization → Access Manager → Service Accounts
- Direct link:
- Click Create Service Account
- Assign organization-level roles (e.g., Organization Owner) for full access
- Copy the Client ID and Client Secret
Note: Both API Keys and Service Accounts are scoped to a single organization. To work with a different organization, you'll need to configure credentials for that organization.
See Service Account Documentation for details.
You can also configure AtlasUI through the web interface:
-
Start the server without configuration:
atlasui start
-
Open http://localhost:8000 in your browser
-
The setup wizard will guide you through configuration
-
Enter your API keys and test the connection
-
Settings are automatically saved and reloaded
If you prefer to configure manually:
For API Keys:
cp .env.example .env
# Edit .env and set:
ATLAS_AUTH_METHOD=api_key
ATLAS_PUBLIC_KEY=your_public_key
ATLAS_PRIVATE_KEY=your_private_key
⚠ Important: Never commit credentials to version control!
Start the web server:
atlasui startThen open your browser to http://localhost:8000
The server can also be started with custom options:
# Custom port
atlasui start --port 8080

# Or use environment variable
PORT=8080 atlasui start

# Stop the server
atlasui stop# List all clusters
atlascli clusters list <project-id>
# Get cluster details
atlascli clusters get <project-id> <cluster-name>
# Create a new cluster
atlascli clusters create --name my-new-cluster --project-id <project-id>
# List projects
atlascli projects list
# View help and version
atlascli --help
atlascli --versionFor developers working on AtlasUI, the project uses Invoke for task automation.
# Install with development dependencies
pip install -e ".[dev]"

# Or use invoke
inv setup# Development: Fast iteration (excludes slow M10 tests, ~11 min)
inv test-dev # Runs in parallel by default
inv test-dev --no-parallel # Sequential execution
# M10 tests: Pause/resume functionality (~20 min)
inv m10-test
# Release: Complete test suite (~20-25 min)
inv test-release # Runs in parallel by default
inv test-release --no-parallel # Sequential execution
# Or use pytest directly
pytest # All tests
pytest -m "browser and not m10" # Skip M10 tests
pytest --cov=atlasui --cov-report=html # With coverage# Format code
inv format
# Check formatting without changes
inv format --check
# Lint code
inv lint
# Run all checks (format, lint, test)
inv check
# Or use tools directly
black atlasui tests
ruff check atlasui tests
mypy atlasui# Build docs with invoke
inv docs
# Build and open in browser
inv docs --open-browser
# Or build directly with Sphinx
cd docs
sphinx-build -b html . _build/html# Run development server
inv run
# Run with custom host/port
inv run --host=0.0.0.0 --port=8080
# Clean build artifacts
inv clean
# Show version
inv versionatlasui/
├── atlasui/ # Main package
│ ├── api/ # FastAPI routes and endpoints
│ ├── cli/ # CLI commands
│ ├── client/ # Atlas API client (generated from OpenAPI)
│ ├── models/ # Pydantic models
│ ├── services/ # Business logic
│ ├── static/ # Static files for web UI
│ ├── templates/ # HTML templates
│ └── config.py # Configuration management
├── tests/ # Test suite
├── docs/ # Sphinx documentation
├── openapi/ # MongoDB Atlas OpenAPI specs
└── tasks.py # Invoke task definitions
The web server exposes RESTful APIs at:
- Root: http://localhost:8000/
- Health: http://localhost:8000/health
- Projects: http://localhost:8000/api/projects/
- Clusters: http://localhost:8000/api/clusters/{project_id}
- Alerts: http://localhost:8000/api/alerts/{project_id}
- Backups: http://localhost:8000/api/backups/{project_id}/{cluster_name}/snapshots
- Interactive Docs: http://localhost:8000/docs
See LICENSE file for details.
Contributions are welcome! Please see CONTRIBUTING.md for details.
- Full Documentation - Complete documentation on Read the Docs
- Quick Start Guide - Get started in 5 minutes
- Contributing Guide - Development guidelines
- MongoDB Atlas API Docs
- MongoDB Atlas OpenAPI Specs
This project was built with assistance from Claude, Anthropic's AI assistant.