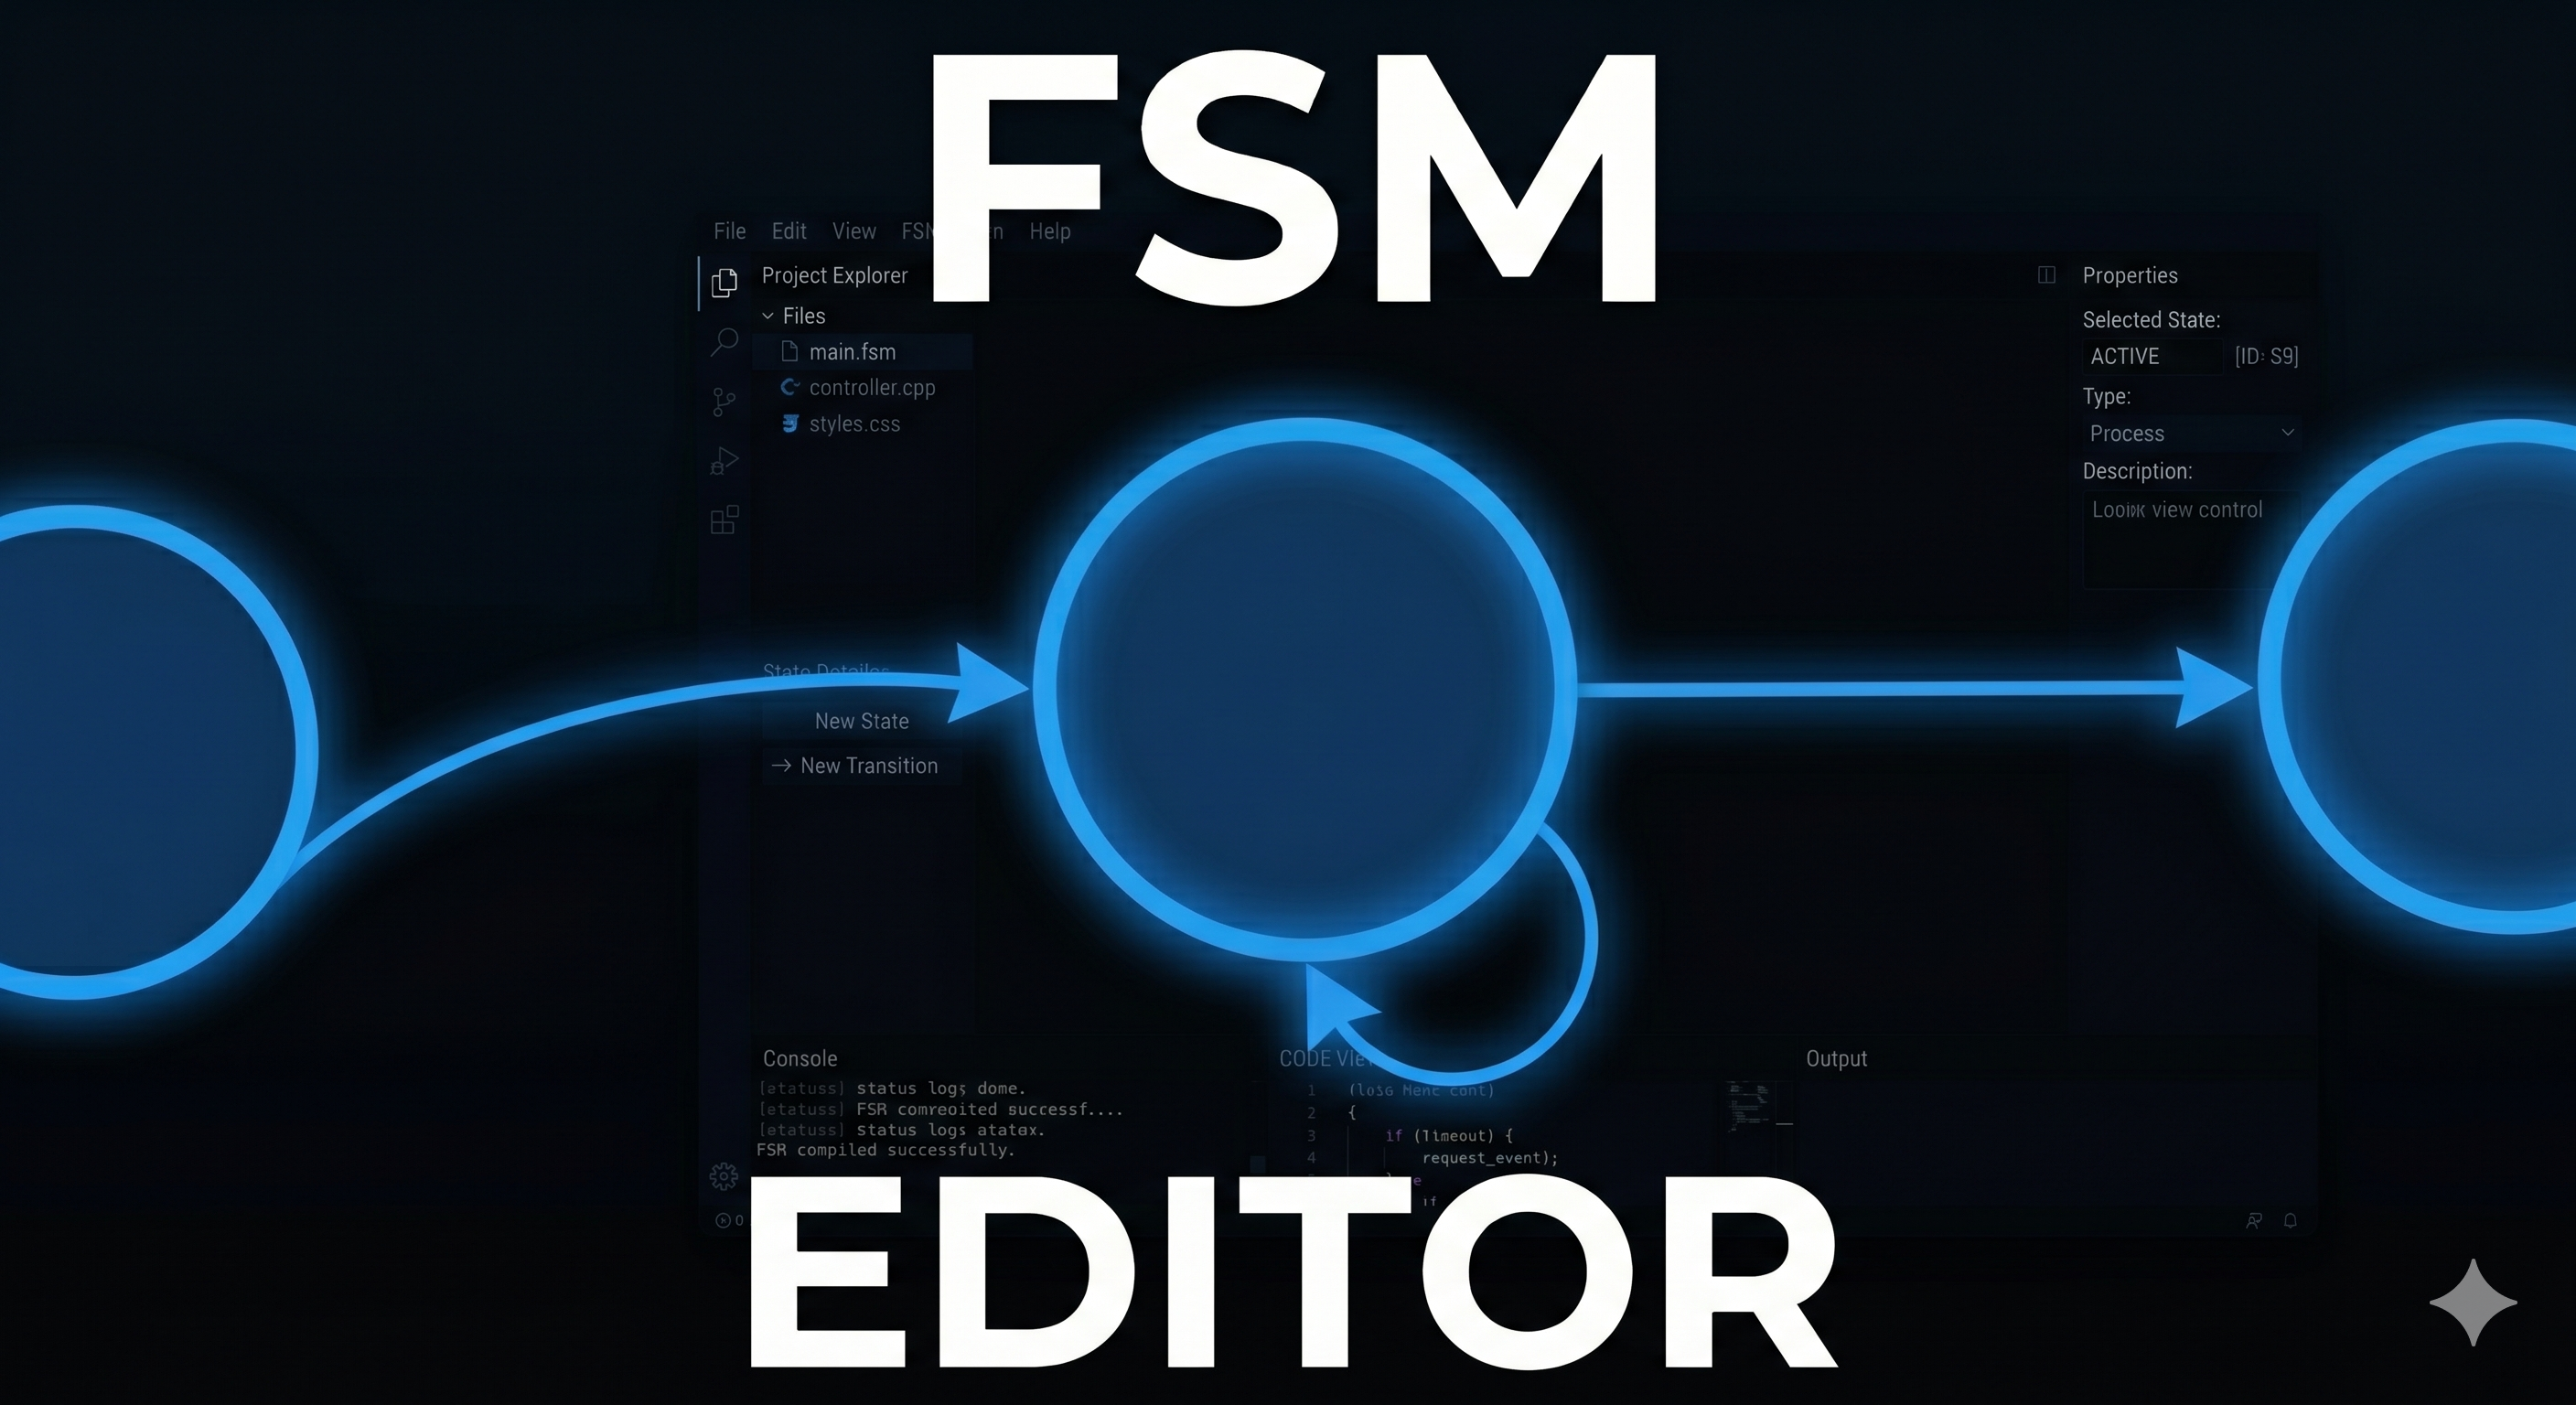
FSM Editor is a OneWare Studio extension that lets you design, visualize, and export Finite State Machines directly inside your IDE. Draw states and transitions on a graphical canvas, define input/output signals and internal variables, and generate synthesizable VHDL or portable C code from your design with a single click.
- Drag-and-drop states — create and freely reposition states on a 20 000 × 20 000 unit canvas
- Interactive transitions — hover over a state until the connector dot appears, then drag to another state; supports self-transitions and parallel transitions
- Inline editing — double-click any state or transition label to rename it or set conditions/output assignments directly on the canvas
- Marquee selection — click-drag on empty canvas to box-select multiple states at once
- Zoom & pan — scroll wheel to zoom (10 % – 500 %); right-click-drag to pan; Zoom In / Zoom Out buttons in the sidebar; live zoom percentage indicator
- Grid background — optional dot/line grid overlay toggled with the Grid button
- Snap-to-grid — states snap to a 50-unit grid when moving, toggled with the Snap button
- Canvas label — a viewport-fixed overlay in the top-left corner shows the current filename and graph type at all times
| Type | Description |
|---|---|
| Moore | Outputs are defined on states |
| Mealy | Outputs are defined on transitions |
Switch between types at any time from the Graph Type selector in the sidebar.
Define your FSM's port interface in the collapsible Signals panel. A count badge shows how many signals are defined.
| Field | Options | Notes |
|---|---|---|
| Name | any identifier | used in output expressions |
| Dir | IN / OUT / INOUT |
port direction |
| Type | BIT / BIT_N / SIGNED / UNSIGNED |
see table below |
| Size | integer | visible for BIT_N, SIGNED, UNSIGNED |
Type → XML mapping
| UI type | Size | XML type | XML size attr |
|---|---|---|---|
BIT |
— | bit |
— |
BIT_N |
4 | nibble |
— |
BIT_N |
8 | byte |
— |
BIT_N |
other | vector |
✓ |
SIGNED |
any (default 16) | integer |
✓ |
UNSIGNED |
any (default 16) | vector |
✓ |
Signals are used to auto-complete and validate output assignment expressions on states and transitions.
Define internal FSM variables in the collapsible Variables panel (no direction — variables are internal only). A count badge shows how many variables are defined.
| Field | Options | Notes |
|---|---|---|
| Name | any identifier | |
| Type | BIT / BIT_N / SIGNED / UNSIGNED |
same mapping as signals |
| Size | integer | visible for BIT_N, SIGNED, UNSIGNED |
Variables are persisted under a <variables> element in the XML file.
- Mark any state as the initial state (entry point of the FSM)
- Mark states as final states
- Set output assignments (Moore) directly on the state node
- Boolean condition expression (e.g.
a && ba || ba || !(b&&c)) - Output assignments on transitions (Mealy)
- Auto-routed curves with adjustable bend and anchor handles
Use the Backend panel in the sidebar to:
- Generate VHDL — produces a synthesizable VHDL entity from the FSM
- Generate C — produces a portable C implementation
- Verify — runs backend verification checks on the current FSM
Full multi-level undo/redo history covers all editing operations: adding/removing/moving states, editing transitions, changing signals and variables, switching graph type.
FSMs are stored as .fsmxml files (XML-based, SCXML-compatible).
Double-click any .fsmxml file in the Project Explorer to open it in the editor.
The XML structure:
<scxml xmlns="http://www.w3.org/2005/07/scxml" ...>
  <signals>
    <signal name="clk" dir="in" type="bit"/>
    <signal name="count" dir="out" type="vector" size="8"/>
  </signals>
  <variables>
    <var name="counter" type="integer" size="16"/>
  </variables>
  <states> ... </states>
</scxml>| Shortcut | Action |
|---|---|
Ctrl+S |
Save current FSM |
Ctrl+Z |
Undo |
Ctrl+Shift+Z |
Redo |
Delete |
Delete selected state(s) or transition |
Escape |
Cancel pending transition / deselect all |
Double-click state |
Edit state name / output assignments |
Double-click transition label |
Edit transition condition |
Scroll wheel |
Zoom in / out |
Right-click drag |
Pan the canvas |
| Section | Controls |
|---|---|
| Add New State | Places a new state node on the canvas |
| Zoom In / Zoom Out | ± zoom buttons + live % display |
| Grid / Snap | Toggle grid background and snap-to-grid |
| Backend | Generate VHDL, Generate C, Verify |
| Signals | Collapsible list with count badge; Add / Delete signals |
| Variables | Collapsible list with count badge; Add / Delete variables |
| Graph Type | Switch between Moore and Mealy |
- Open OneWare Studio
- Navigate to Extensions → Package Manager
- Search for FSM Editor and click Install
Download the latest release from GitHub Releases and install it through the OneWare package manager's manual install option.
Click the FSM Editor toolbar button in the OneWare Studio toolbar to open a blank canvas.
Double-click any .fsmxml file in the Project Explorer to open it in the editor.
- Click Add New State in the sidebar — the first state becomes the initial state automatically
- Add more states as needed
- Hover over a state until the connector dot appears, then drag to another state to create a transition
- Double-click transition labels to set conditions
- Define signals in the Signals section of the sidebar (Name / Dir / Type / Size)
- Define any internal variables in the Variables section (Name / Type / Size)
- Set output assignments on states (Moore) or transitions (Mealy)
- Press Ctrl+S or click Save to save as an XML file
- Click VHDL or C in the Backend section of the sidebar
- Choose an output directory when prompted
- The generated files will be placed in the selected folder
Follow these steps to build and run the extension locally.
Prerequisites
- Visual Studio Code
- OneWare Studio
- .NET 10 SDK (can be installed within Visual Studio Code)
- Clone repository: https://github.com/FEntwumS/FEntwumS.FSM.git
Steps
- Install the .NET 10 SDK (search
>.net installin VS Code's search field on top) - Restart VS Code after the SDK installation
- Open the cloned folder in VS Code (File -> Open Folder)
- Run the Build Solution task (
Ctrl+Shift+B) - Open the Run and Debug panel, select Run Plugin, and press the play button
- OneWare Studio will launch with the FSM Editor extension installed
Note: If OneWare Studio fails to launch, check that the
programpath in.vscode/launch.jsonpoints to your localOneWareStudio.exe.
src/FEntwumS.FSM/
├── FEntwumSFSMModule.cs                  # Extension entry point & service registration
├── Services/
│   └── FiniteStateMachineService.cs      # Opens/creates FSM editor documents
├── ViewModels/
│   ├── FiniteStateMachineViewModel.cs    # Main editor logic, undo/redo, XML persistence
│   ├── StateItemViewModel.cs             # Individual state node
│   ├── TransitionViewModel.cs            # Transition arc & routing geometry
│   ├── SignalDefinitionViewModel.cs      # Port signal definition (name/dir/type/size)
│   ├── VariableDefinitionViewModel.cs    # Internal variable definition (name/type/size)
│   ├── FsmXmlStateHelper.cs              # SCXML read/write helpers
│   ├── FsmToolbarExtensionViewModel.cs   # Toolbar button
│   └── FsmGraphType.cs                   # Moore / Mealy enum
└── Views/
    ├── FiniteStateMachineView.axaml       # Main canvas + sidebar UI
    ├── FsmChoiceDialog.axaml              # Graph type selection dialog
    ├── FsmLoadDialog.axaml                # File load dialog
    └── FsmToolbarExtensionView.axaml      # Toolbar button UI
This project is licensed under the MIT License.