Sprint 2.1 Driver App
Note: If you see error "Failure: Attempt to invoke method 'int org.json.JSONObject.getInt(java.lang.String)' on a null object reference", the Android app is unable to communicate with the backend database.
Solution: It may be possible that our Heroku server is down, which shuts off after a certain period of inactivity. If this happens, run this command in the terminal curl -X GET https://rideshare08.herokuapp.com/api/trip/trips/1 to "wake" the server up.
When you run the app, you will be greeted by a login page:
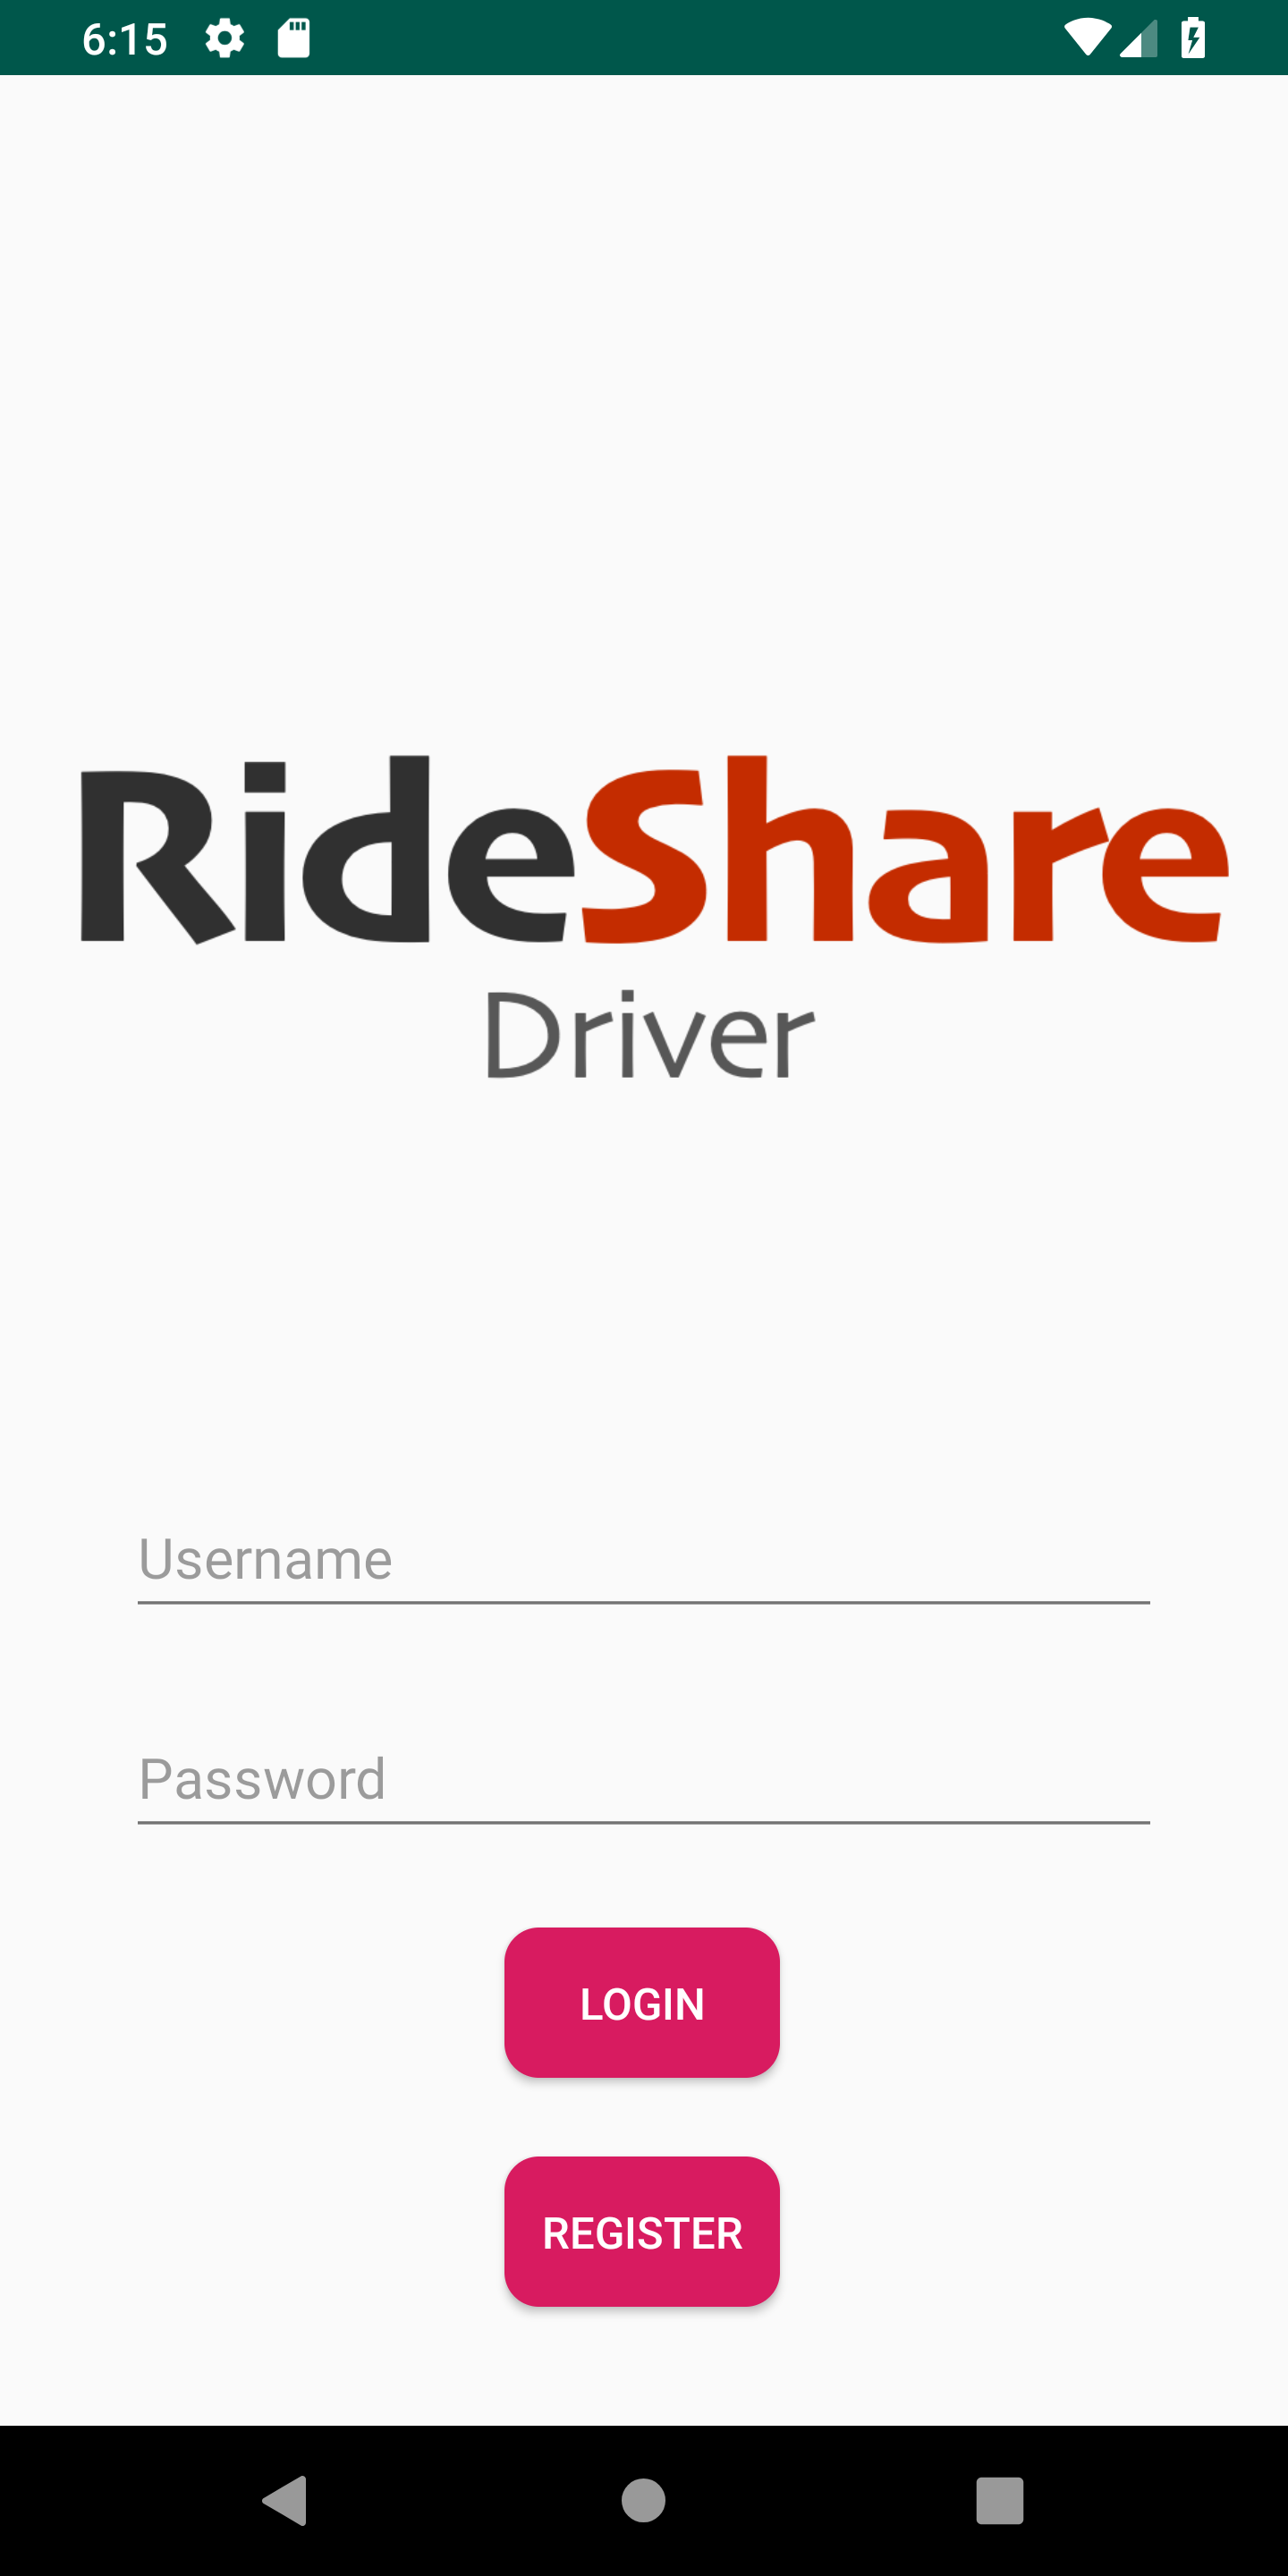
If this is your first time here, you will probably want to register for an account. To do that, click the "Register" button to get to this page:
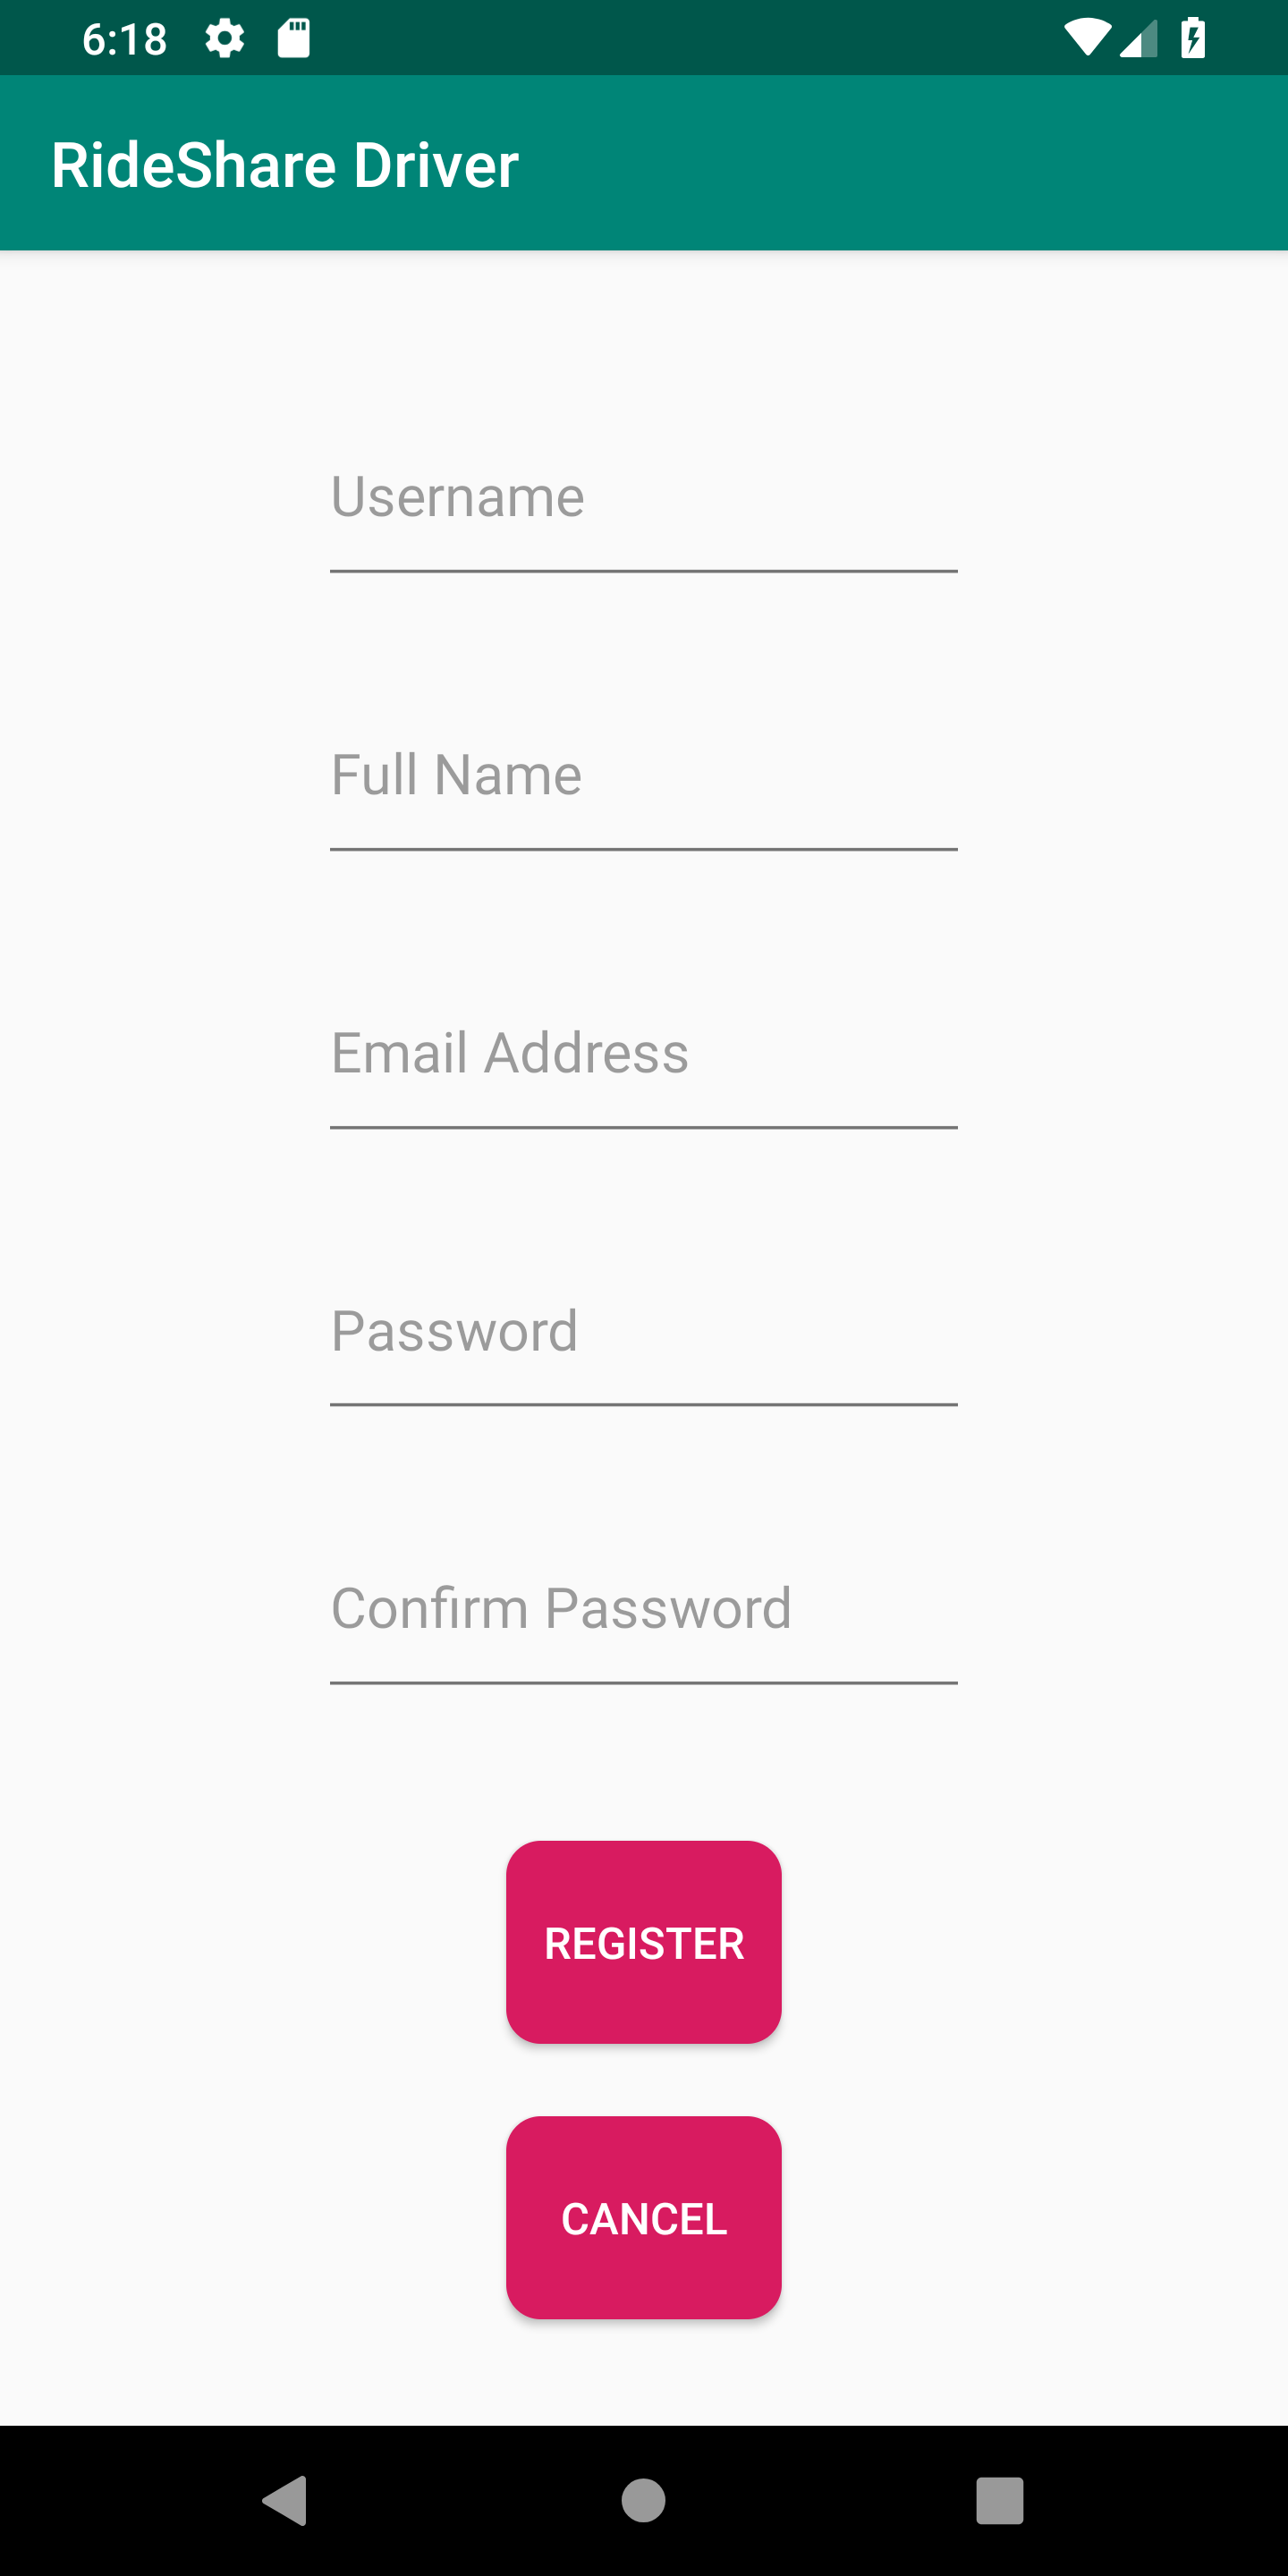
After you have registered, you may login to the app by pressing the "Login" button.
Note: You cannot use your driver's account to login into the passenger app.
After logging in, you'll see the main screen menu, which is pretty self-explanatory:
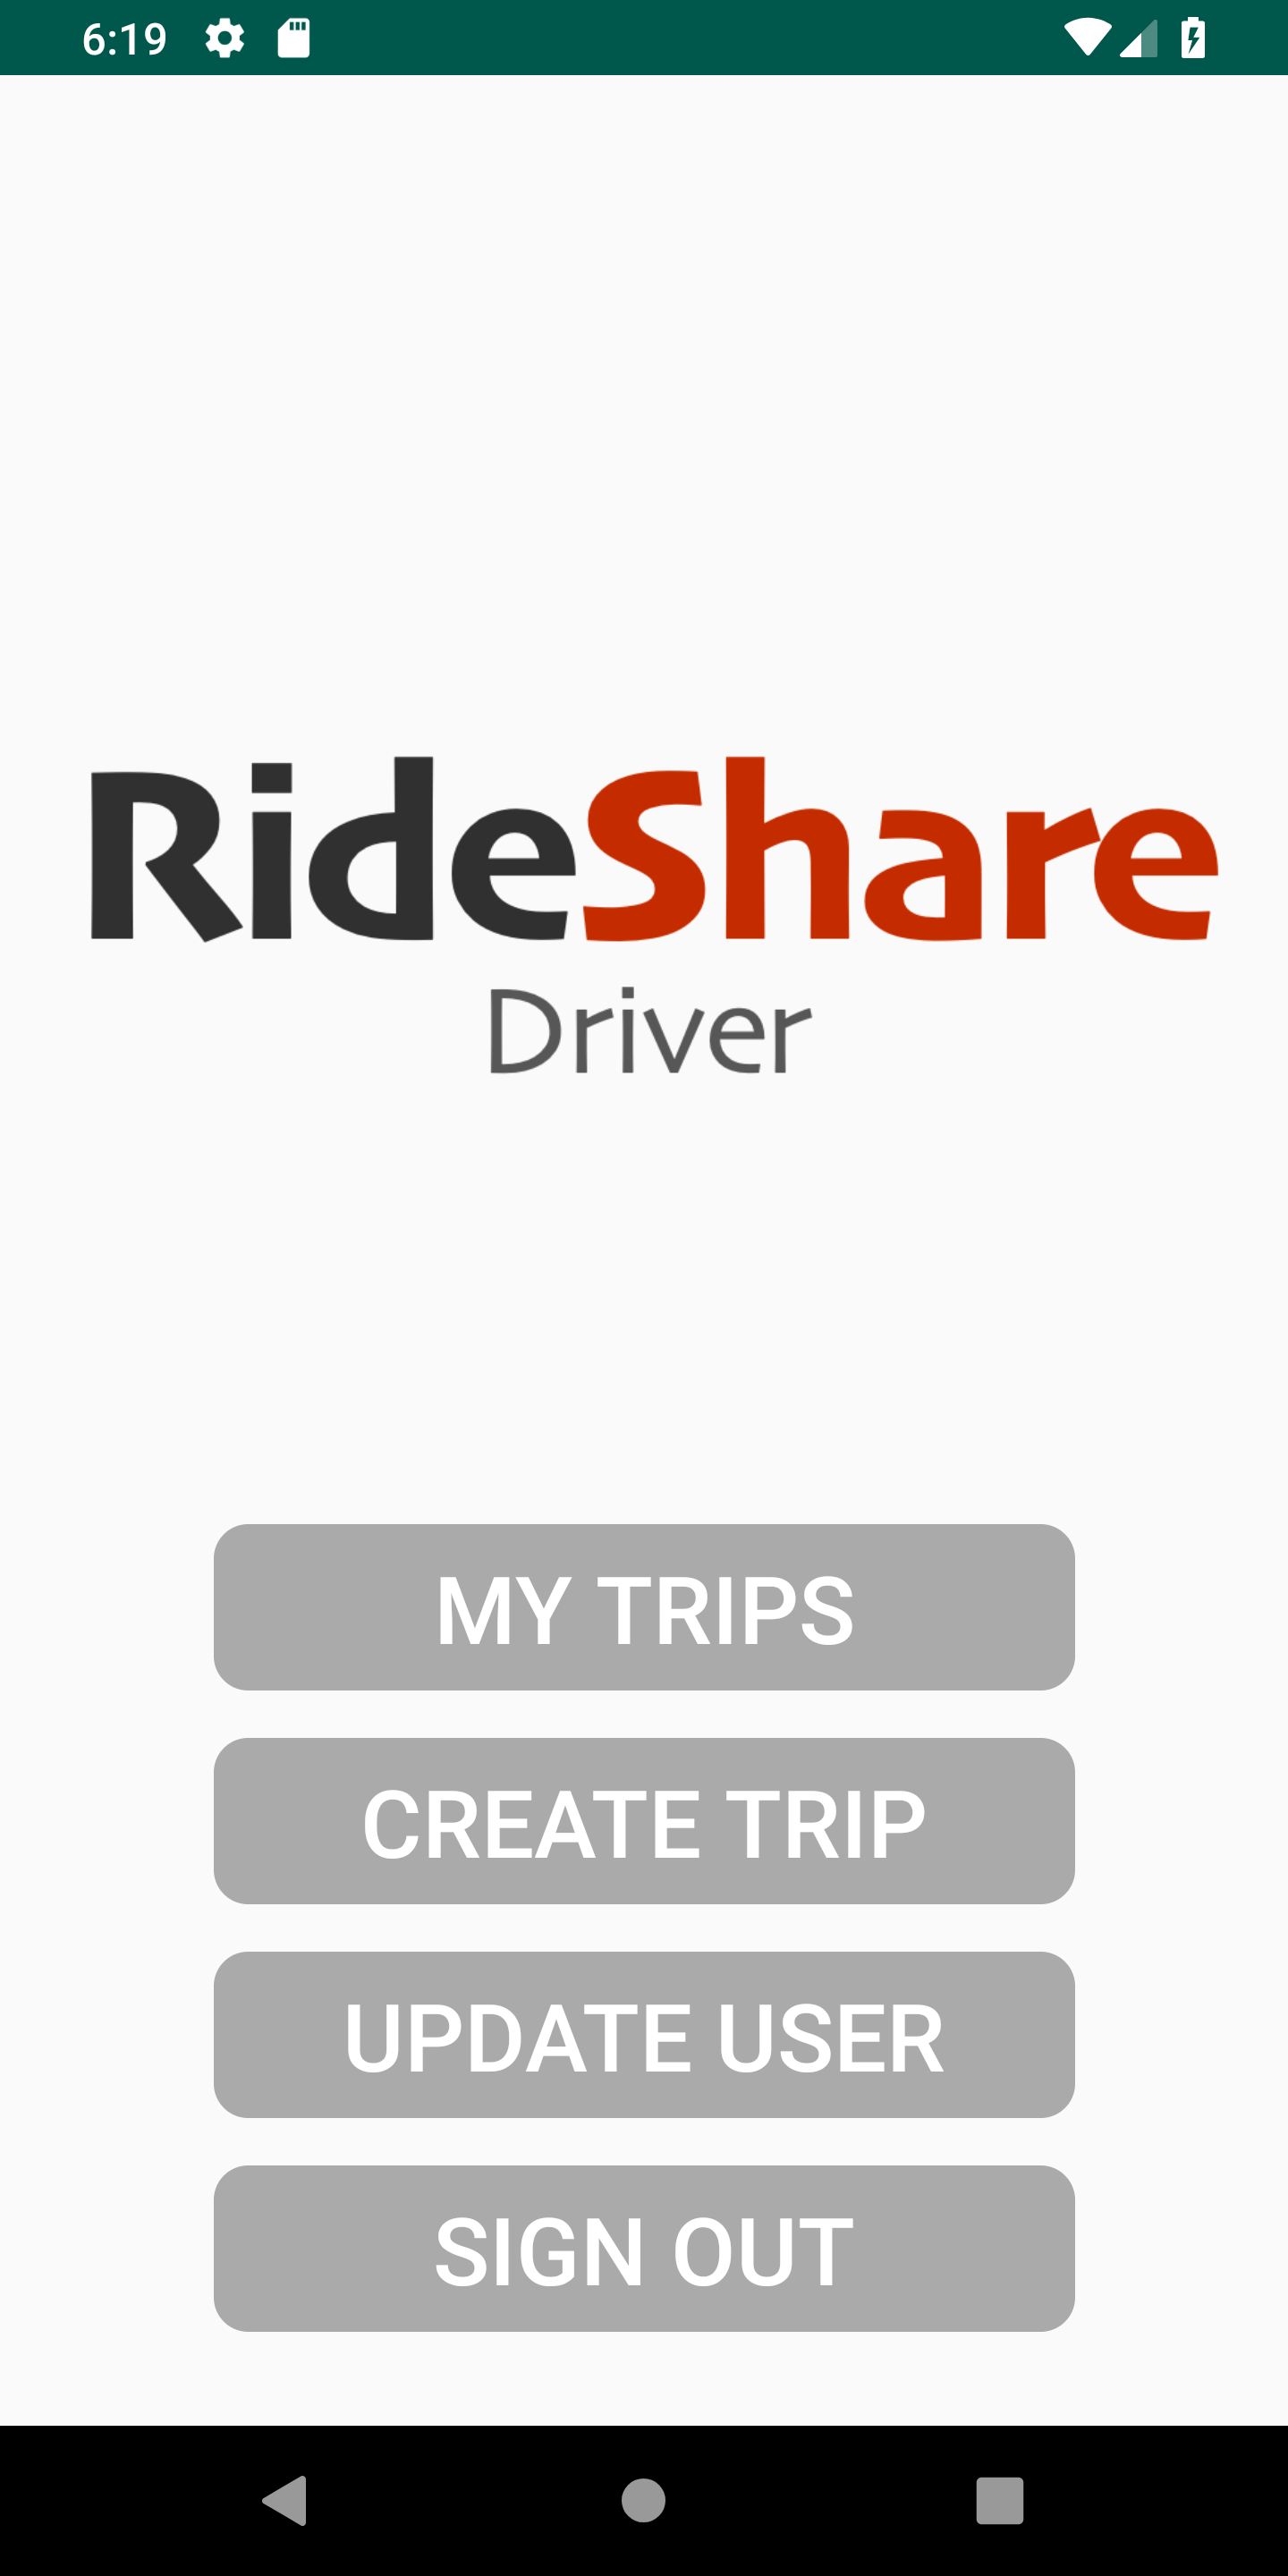
If you click on "My Trips", you'll notice that it leads to a blank page. This is because as a driver, you have not created any trips yet.
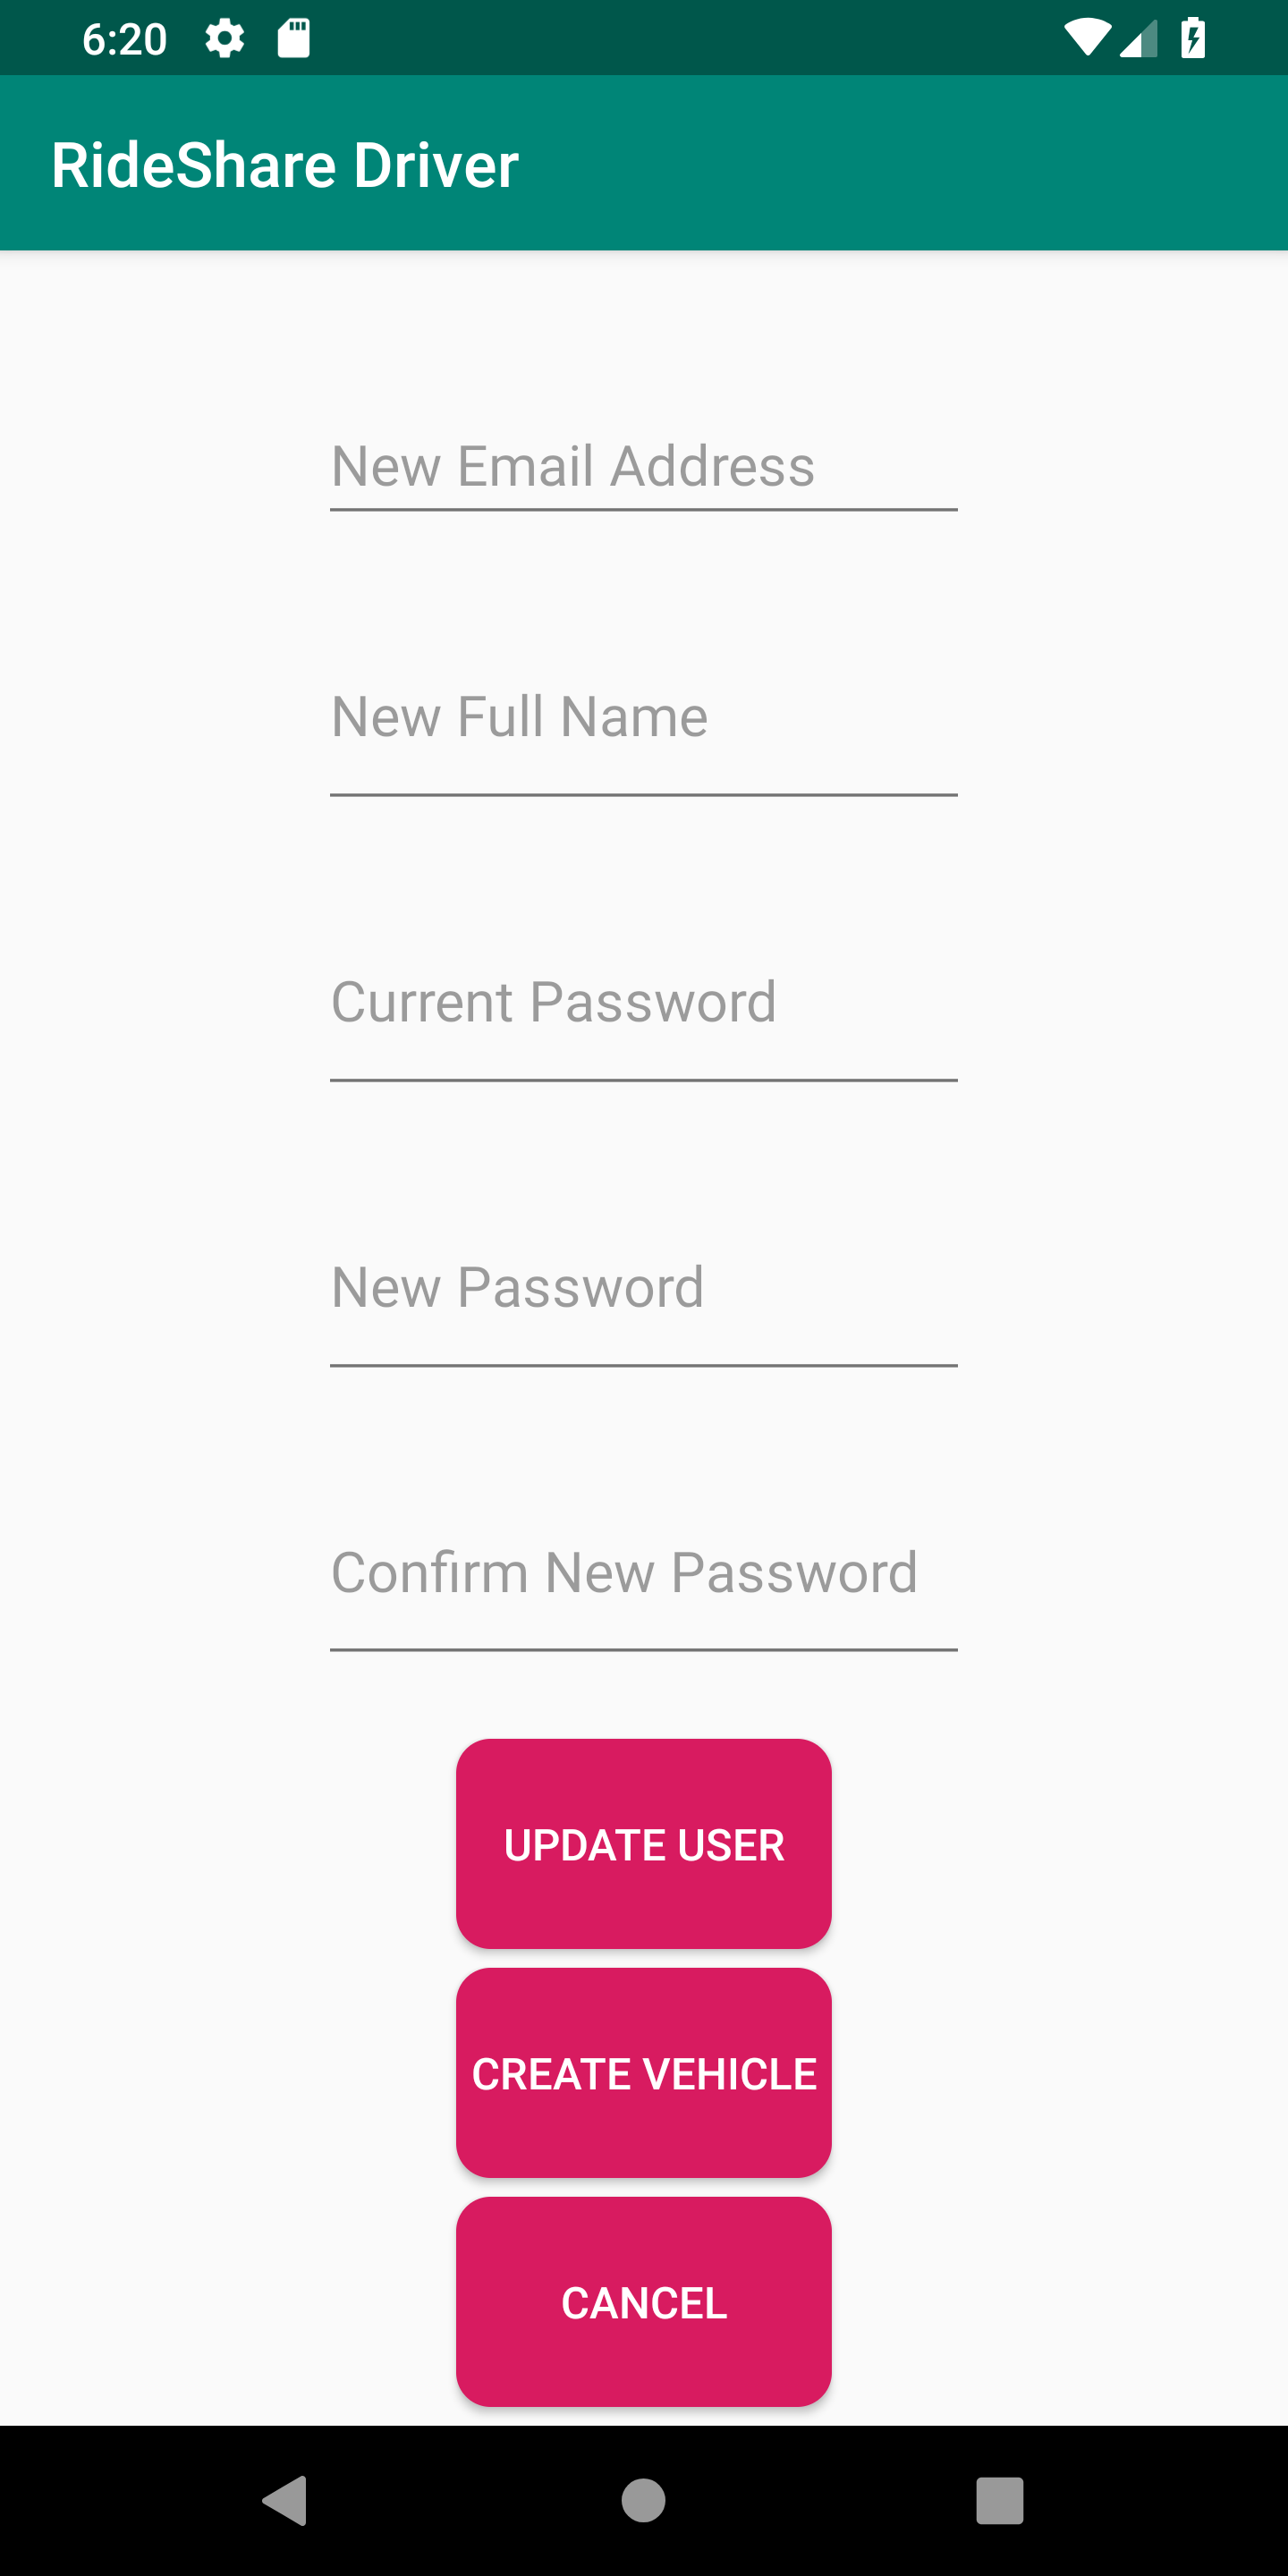
Before you can create a trip, you must specify the details of your vehicle. To do so, click "Update User" from the main screen menu to get to this page:
After that, you are now able to create a trip. In the main screen menu, click "Create Trip" to get to this page:
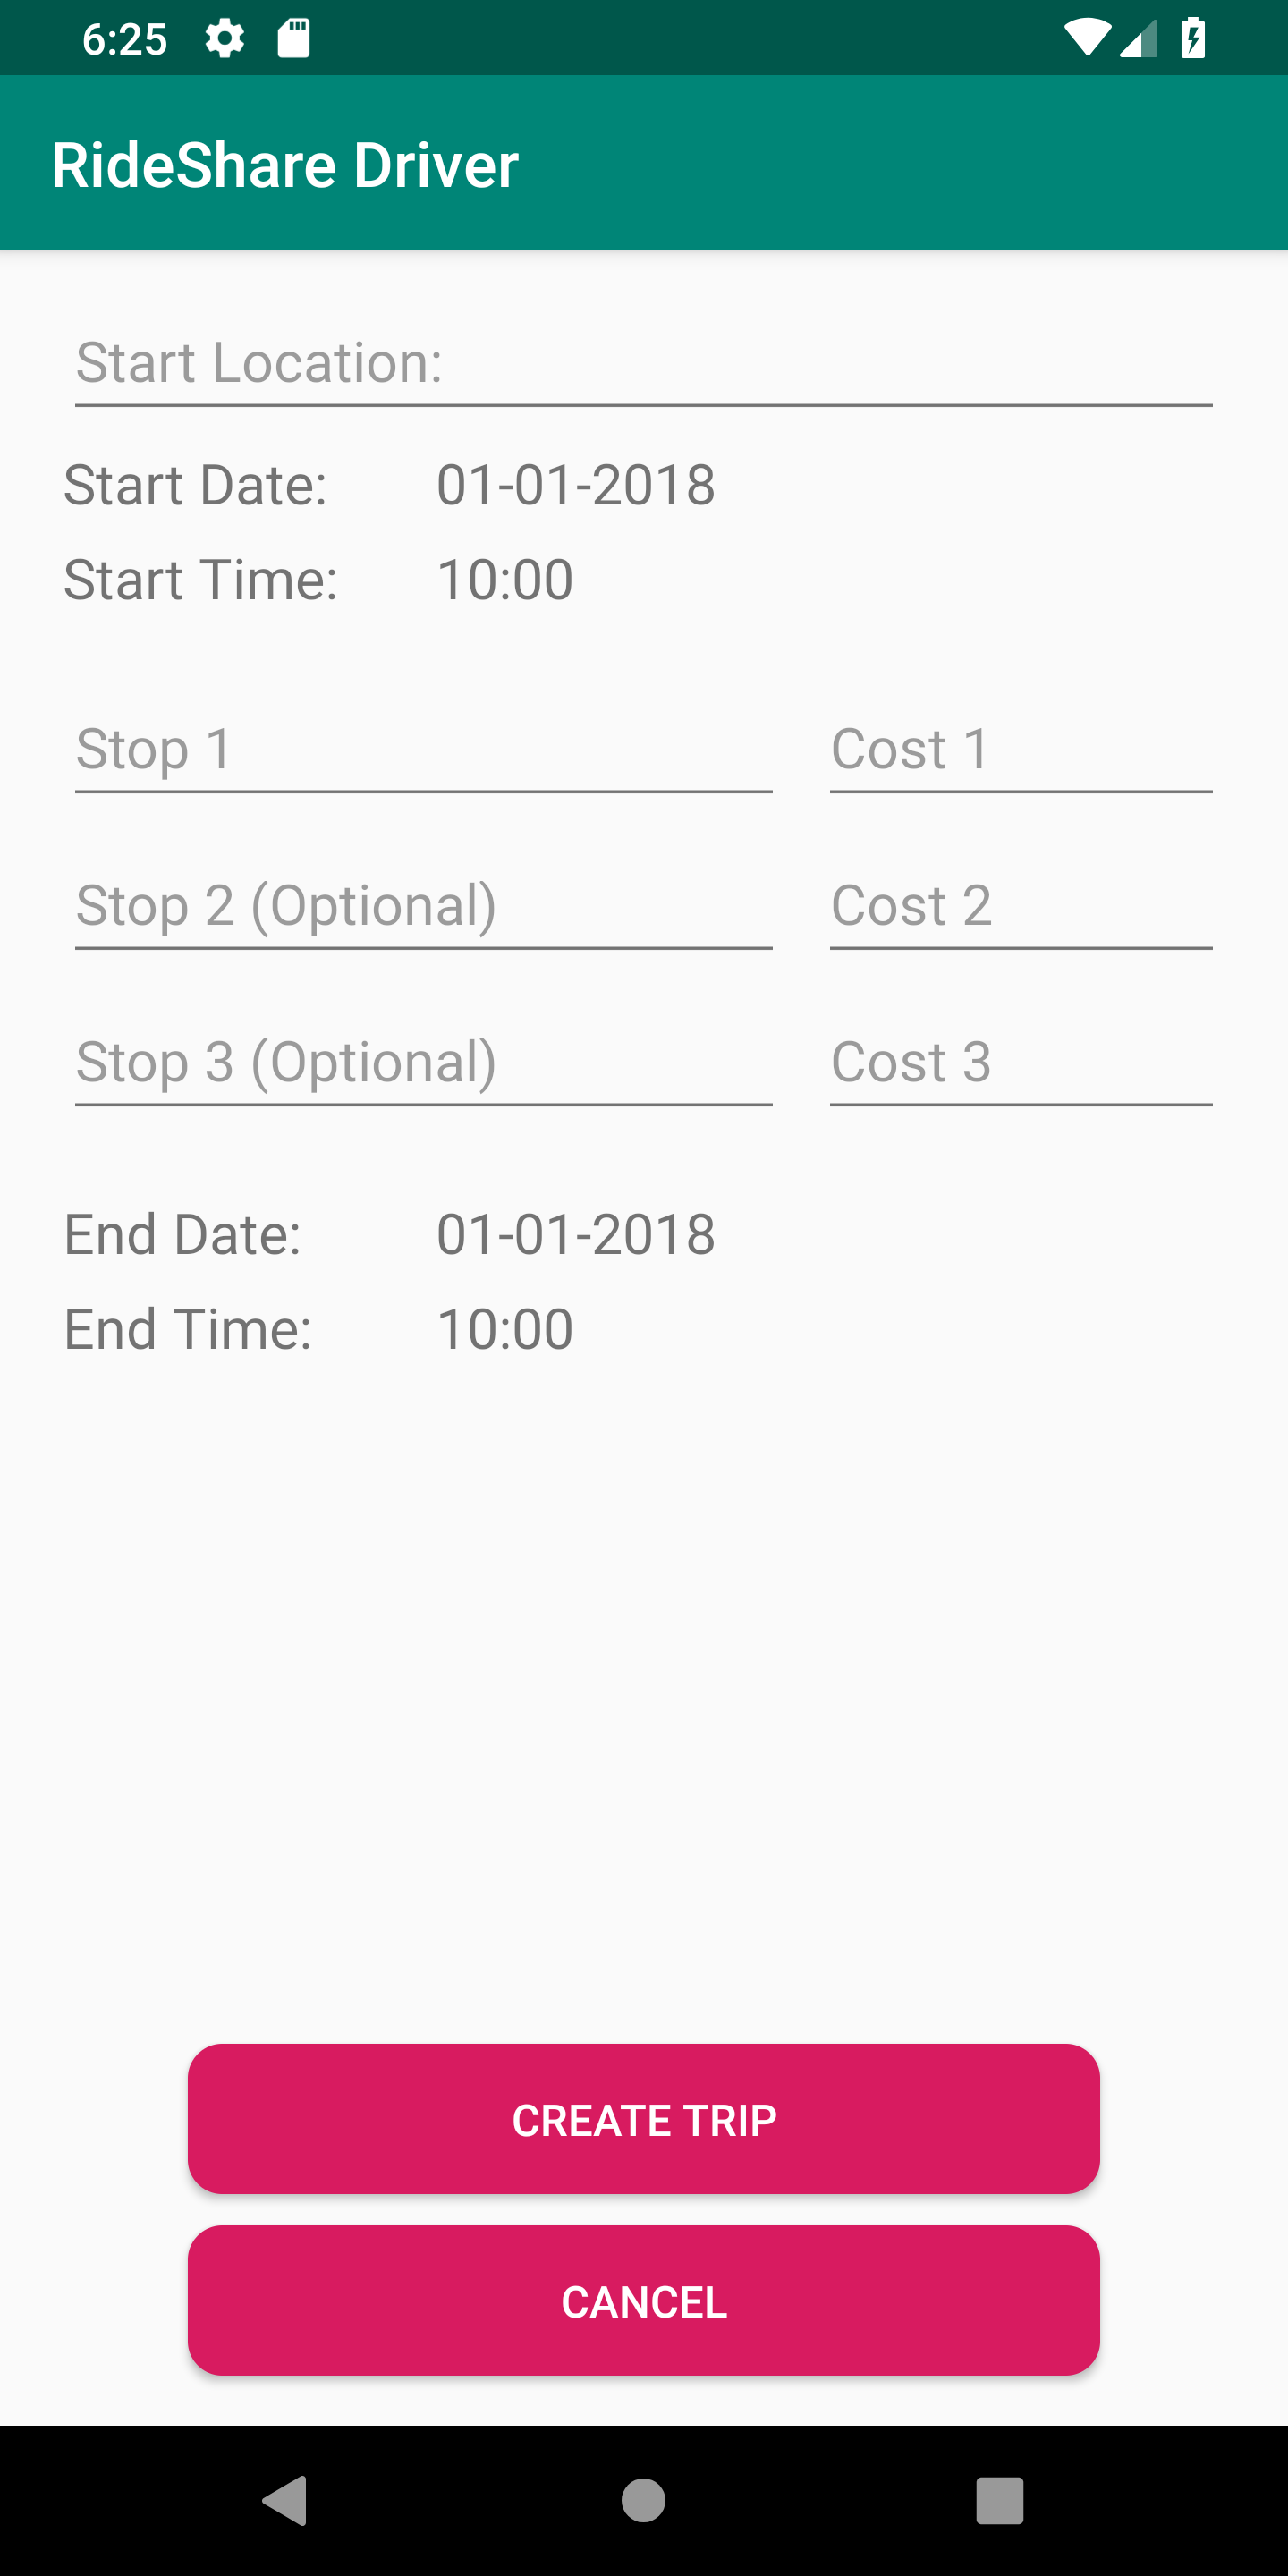
As you can see from above, the list of details a driver must fill out for a stop is quite extensive:
- starting location (string)
- start date (datepicker selection)
- start time (timerpicker selection)
- at least one stop (string)
- a cost associated with each stop (integer)
- end date (datepicker selection)
- end time (timerpicker selection)
Now that you have created at least one trip, you can view them now. Go to the main screen menu and click "My Trips" to get to this page:
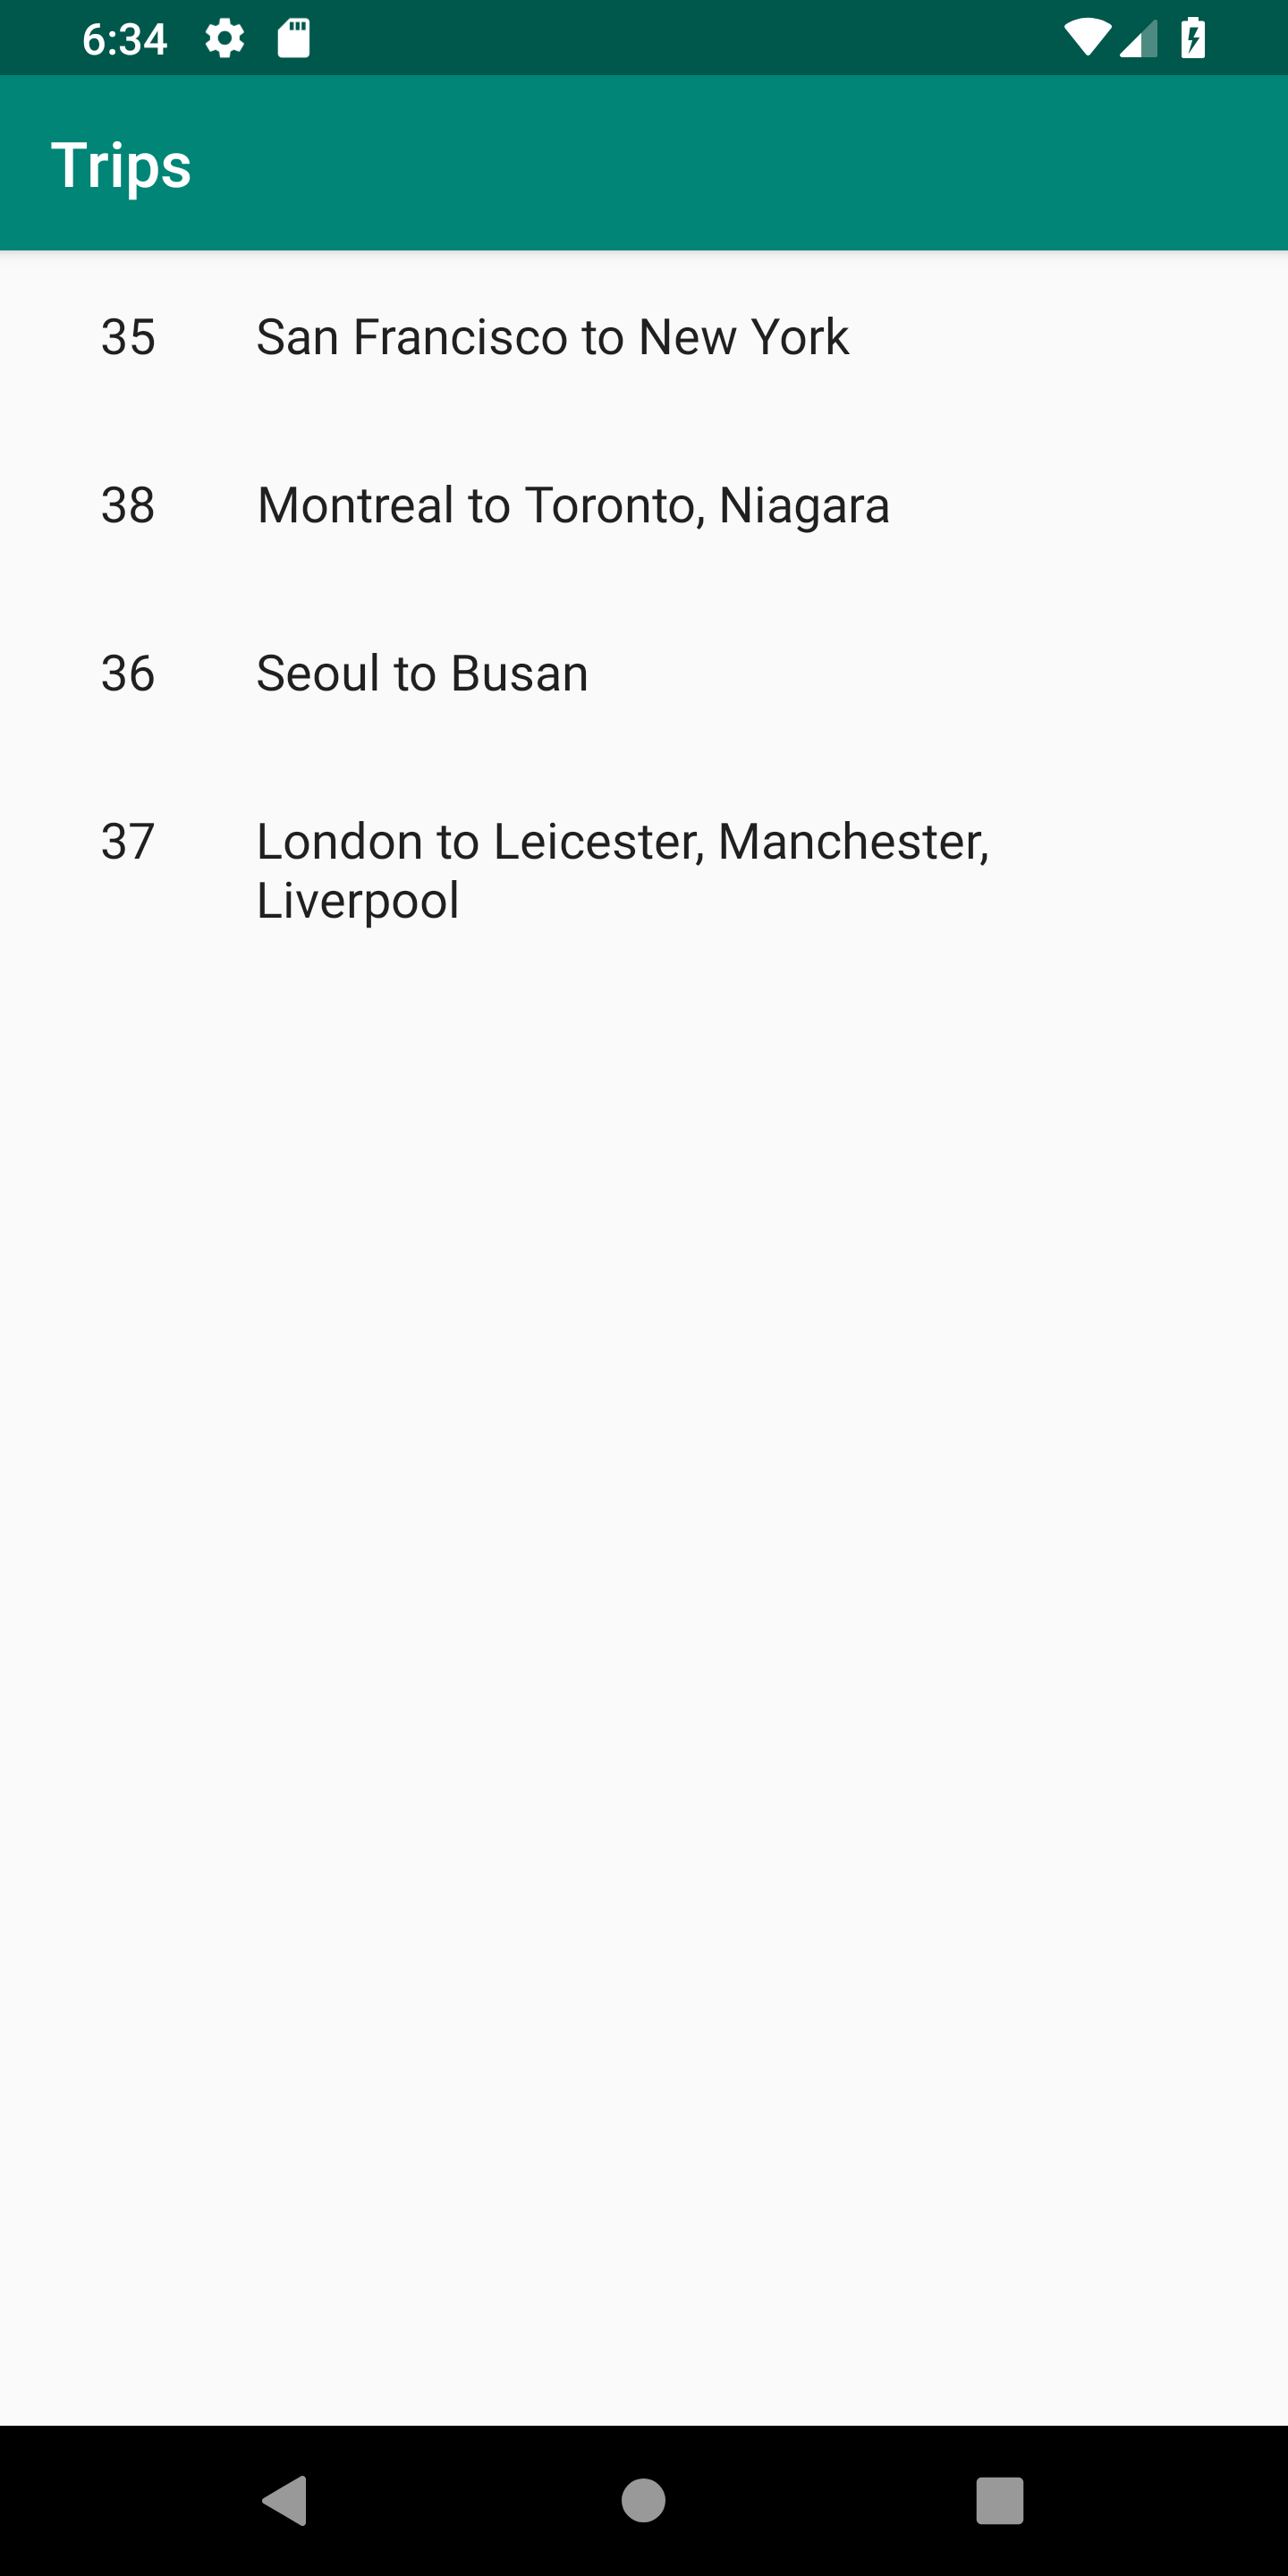
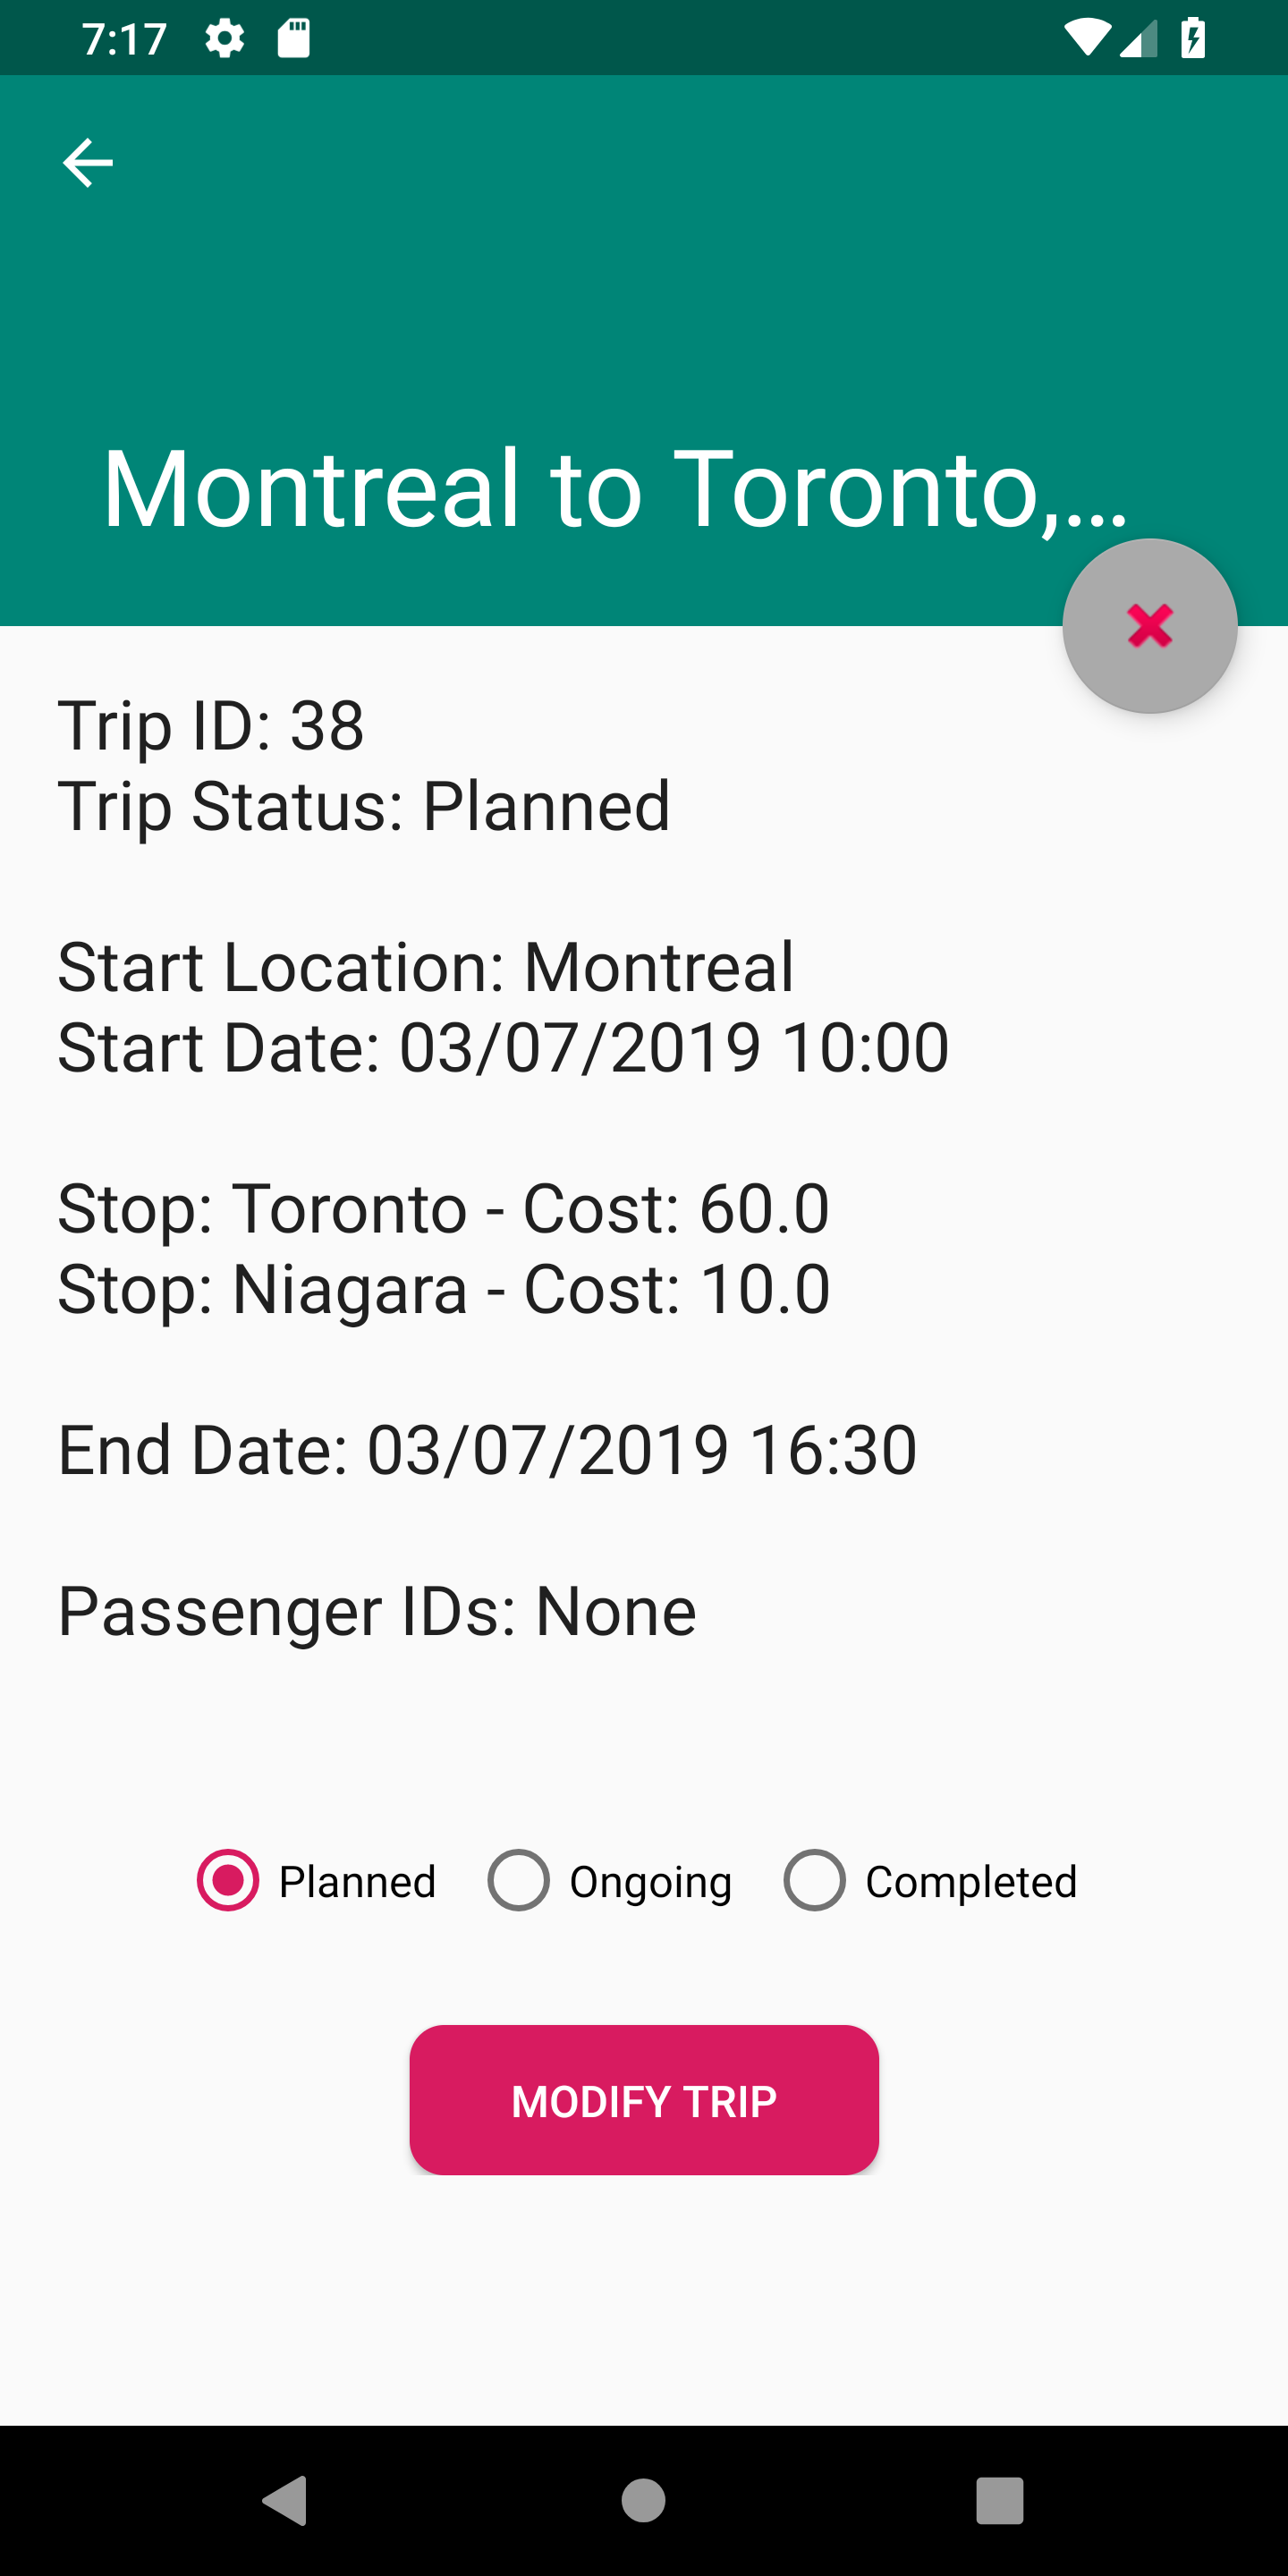
The left column is the trip ID, while the right column contains the starting location and stops. You can even click on a trip to...
- see more details
- change its status
- modify its details
- cancel it
If you need to update your email, name, or password, go to the main menu screen and press "Update User" to get to this page:
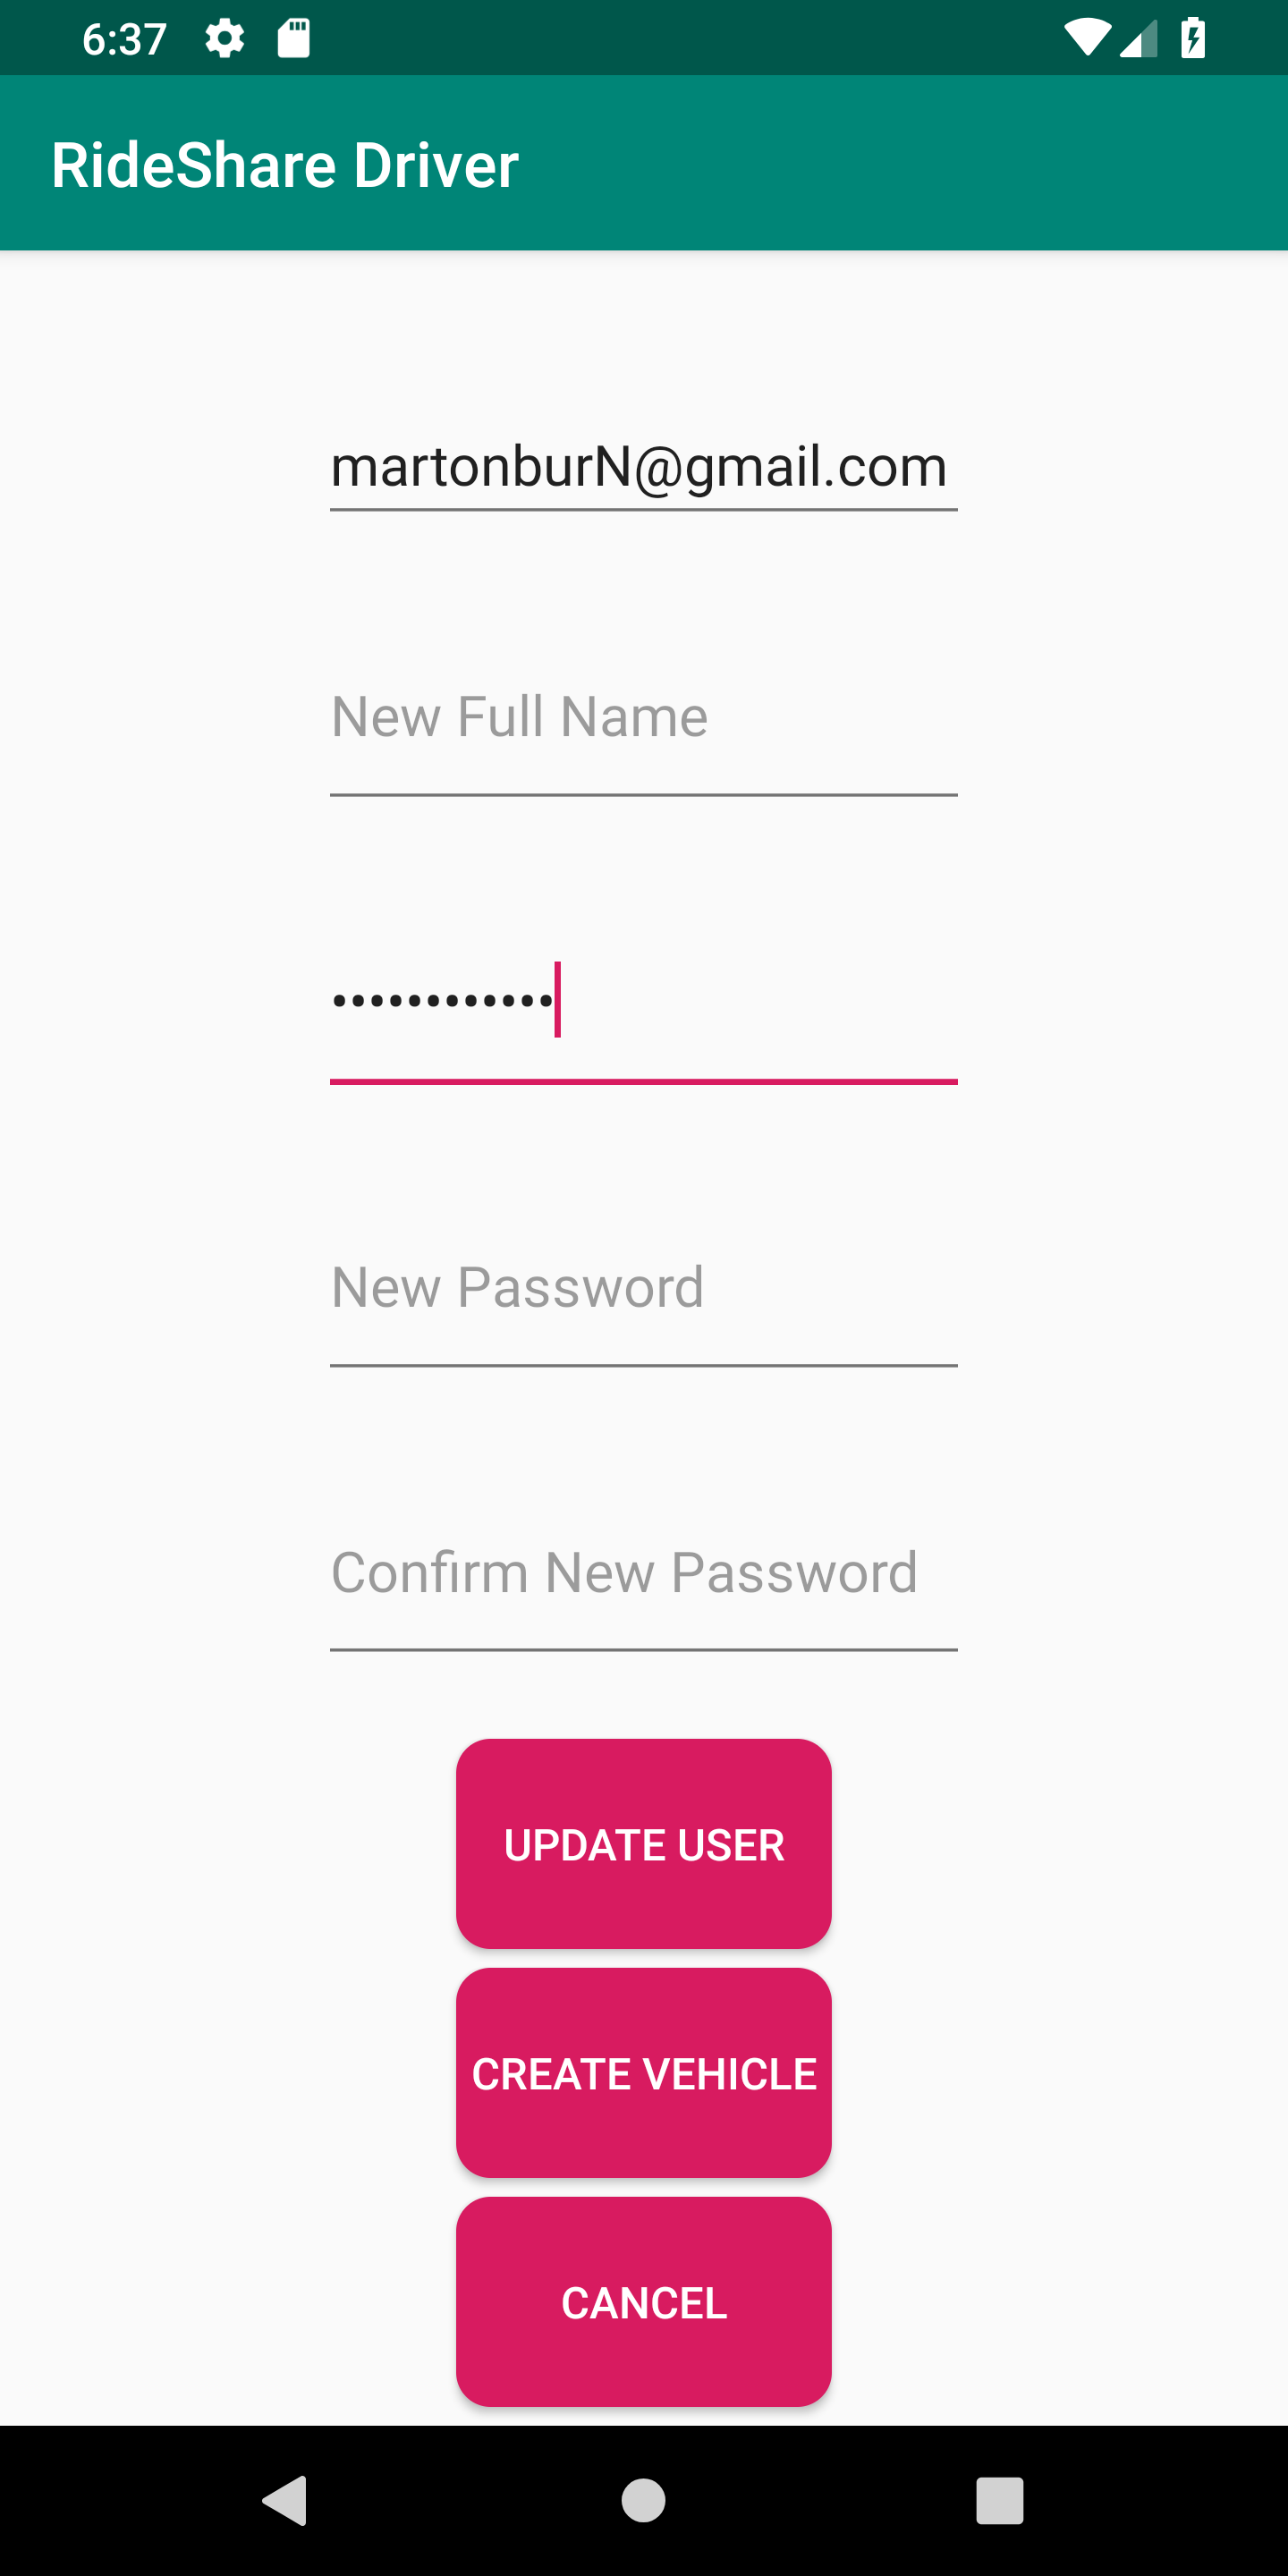
From the above example, the user attempted to just change his email address.