使用 pytest 作为测试框架 #8
Description
我们选择 pytest 作为测试框架。
pytest 测试环境基本配置
- 安装pytest 和 pytest-django
- 在 tox.ini 中配置 pytest 。pytest 也会读取 tox.ini 中的配置。
第一个配置是,设置 django 测试环境变量如下:
[pytest]
DJANGO_SETTINGS_MODULE = wepost.conf.test- 加了快速测试的 密码 hash 速度。在
wepost.conf.test中配置简单的密码 hash 函数。
PASSWORD_HASHERS = [
'django.contrib.auth.hashers.MD5PasswordHasher',
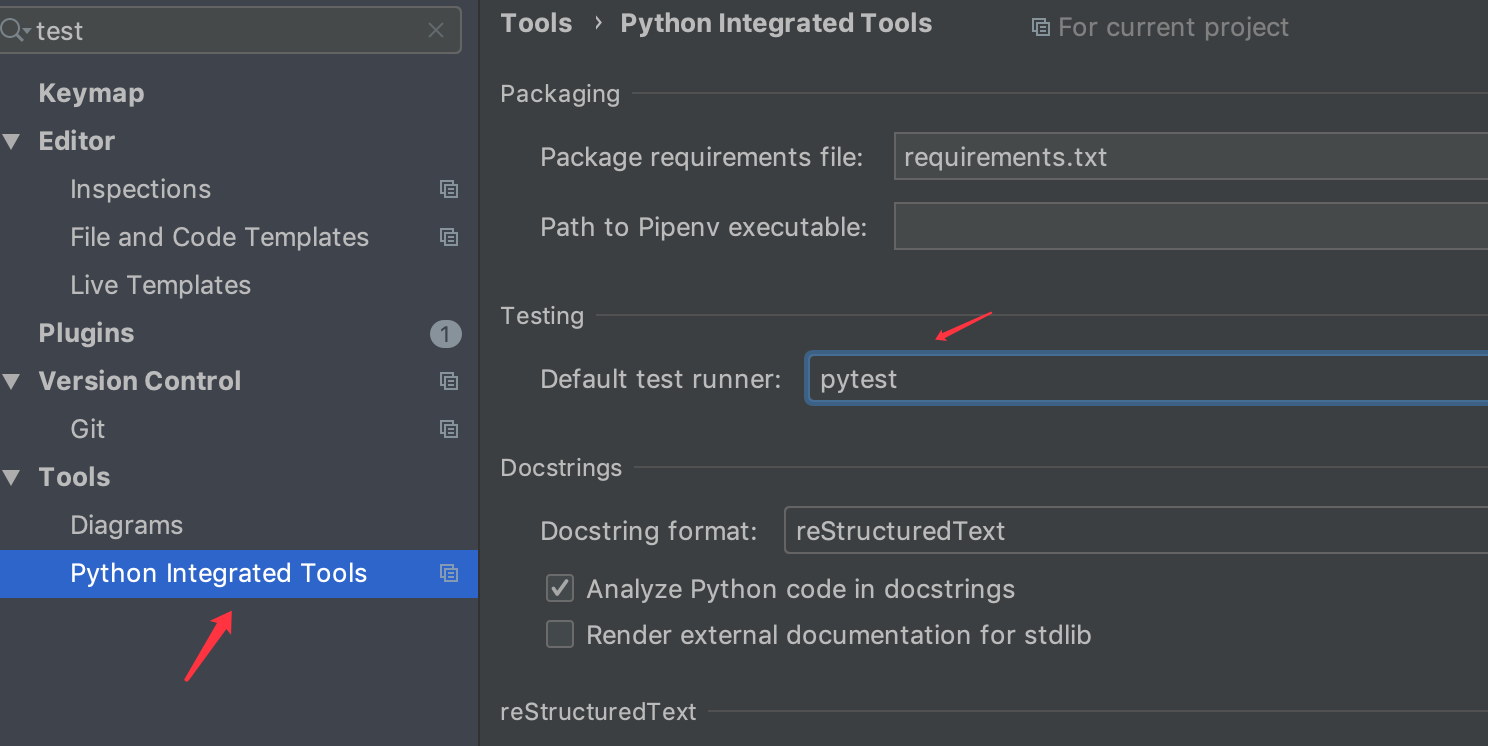
]PyCharm 的 pytest 测试环境配置
首先选择 pytest 作为 PyCharm 默认的测试框架如下图所示:
第一个测试
添加测试用户作为 fixture
之前我们添加了一些 dev1,dev2,test1,test2 等的测试用户。这样在测试用例每次使用到这些用户时。
就需要写例如如下的代码: dev1 = WepostUser.objects.filter(username="dev1").first() 之类的代码。
但是在 pytest 中可以使用。将 ut1 作为一个 fixture 添加进 pytest ,这样每一次使用时就可以直接使用了。
- 在 项目根目录下创建针对项目的 conftest.py 模块。在里面添加一个名为
ut1的 fixture
@pytest.fixture()
def ut1(db):
return WepostUser.objects.filter(username="test1").first()上面ut1 函数使用, db 是为了访问数据库。否则会报如下错误,对于在 fixtures 中访问数据库的话,使用 @pytest.mark.django_db 也是没有用的。
备注:pytest 匹配 fixture 是根据测试函数中的参数名字来的。
E Failed: Database access not allowed, use the "django_db" mark, or the "db" or "transactional_db" fixtures to enable it.
-
以测试 UserNodeService 为例,添加测试模块,删除
apps/posts目录原来空的tests.py模块。
创建名为tests的包。添加test_user_node_service.py模块。 -
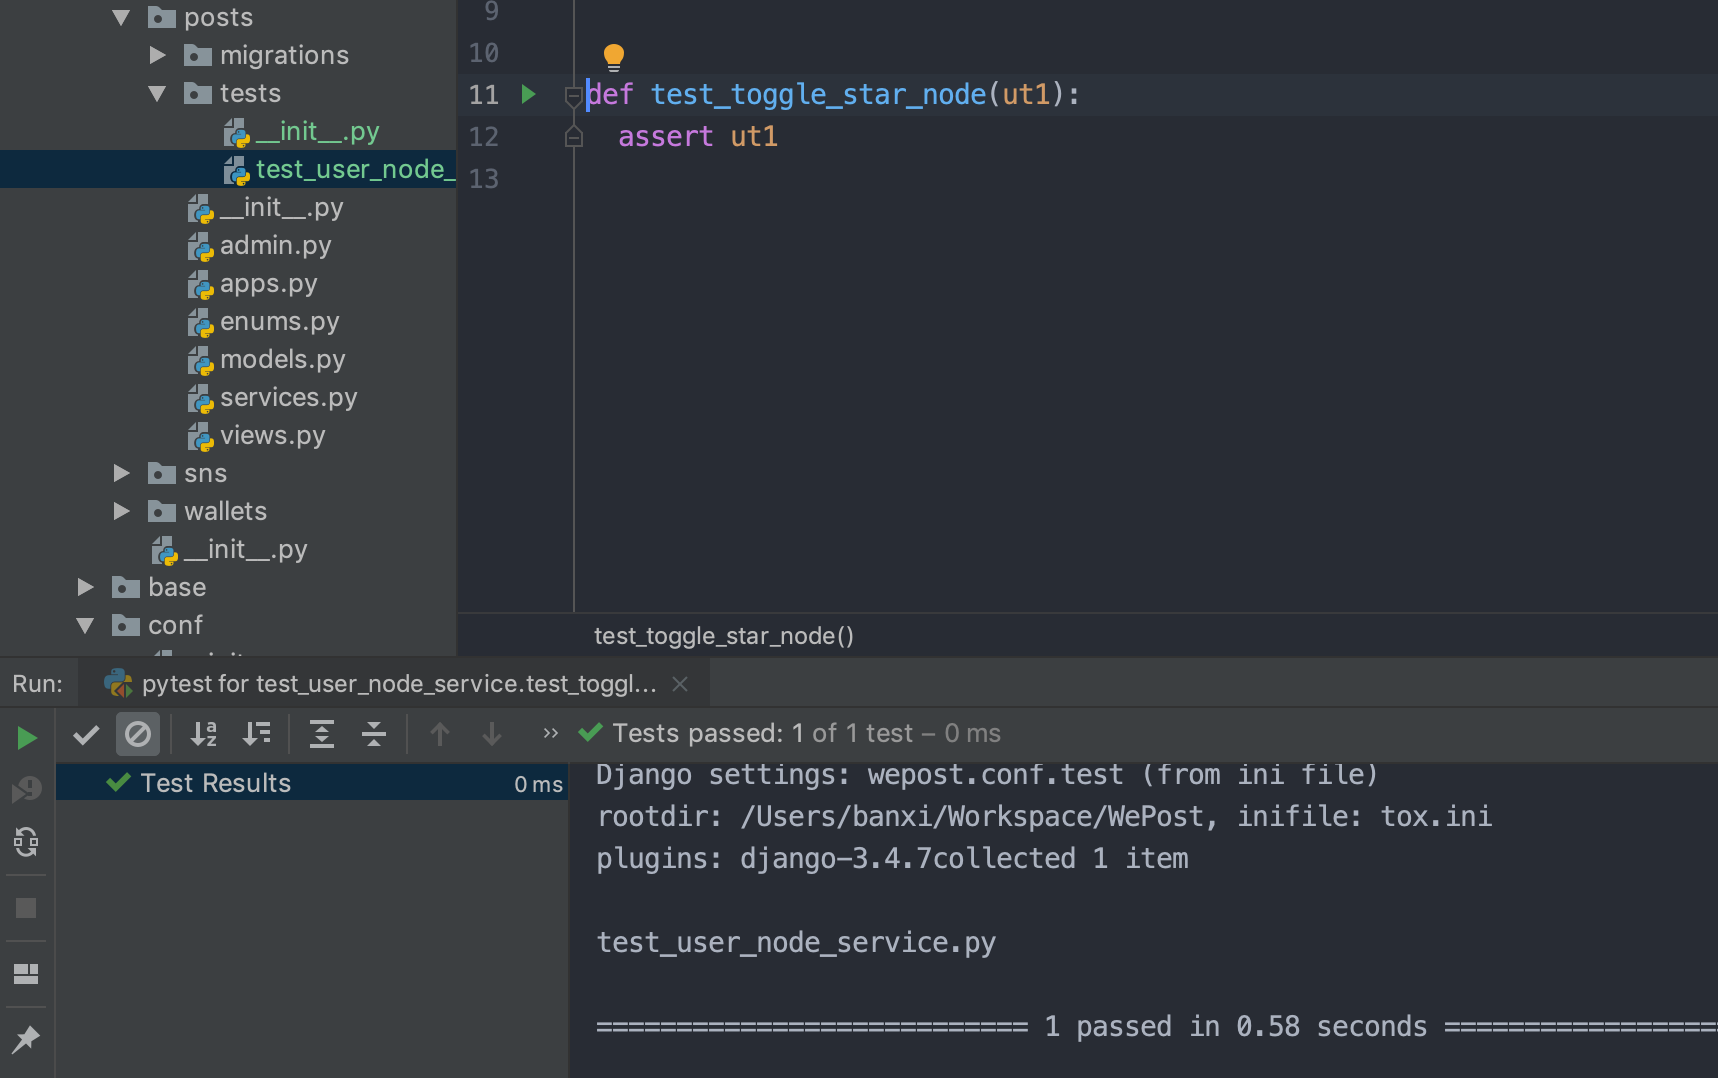
添加测试用例:
def test_toggle_star_node(ut1):
assert ut1- 运行测试如下(在 PyCharm 中可以直接点击 测试用例前面的运行按钮运行)