Quick Start Guide #5
santiguese
started this conversation in
General
Replies: 0 comments
Sign up for free
to join this conversation on GitHub.
Already have an account?
Sign in to comment
Uh oh!
There was an error while loading. Please reload this page.
-
Quick Start Guide
Battery Power Warning
Ensure your tablet/laptop and camera is fully charged and that it can cover a full game. Keep in mind, that battery performance is degraded in cold weather.
IMPORTANT: It is highly recommended that you utilize an external battery to power your tablet/laptop. Rendering of video is very GPU and processor intensive and therefore will drain your battery quickly. In addition, your livestream can be negatively impacted if your system’s power management steps down its processing power as your device’s internal battery depletes.
Customizing the Scoreboard
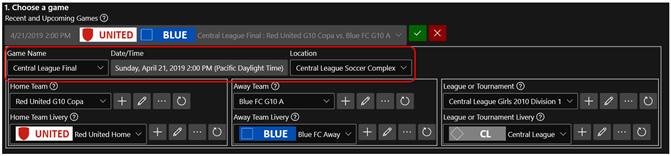
From the Start tab locate the section labeled “Choose a game” and click the Edit button (shaped like a pencil).

From the expanded section you can now edit the Game Name, Date/Time and Location of the game you are going to livestream and/or record by simply free typing into these fields.
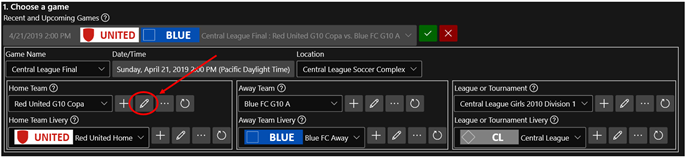
To update the Home Team you will need to click the Edit button (shaped like a pencil) to the right of each of these fields.
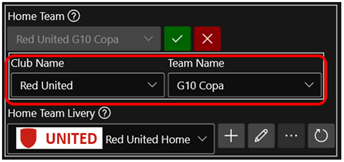
From the team expanded section you can now edit the Club Name and Team Name by simply free typing into these fields.
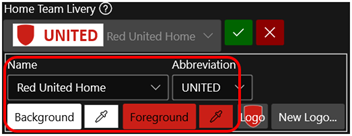
To update the look of the Home Team in the scoreboard you will need to click the Edit button (shaped like a pencil) to the right of the Livery.
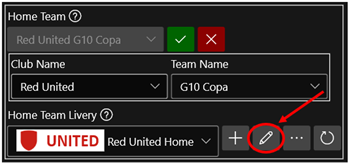
From the livery expanded section you will provide a Name (used just for reference) and Abbreviation (this will be displayed on the scoreboard) and adjust the Background and Foreground colors for the Home Team
To update the Logo displayed on your scoreboard you click the New Logo button
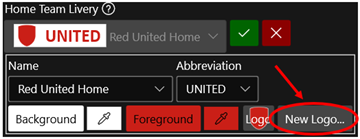
For best results choose a PNG format of the logo for the Home Team
Repeat steps 5 – 8 for the Away Team and League/Tournament.
Next, click the Green Check button next to the Recent and Upcoming Games section to save all your changes.

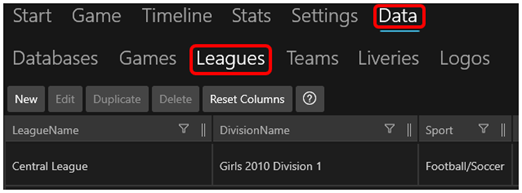
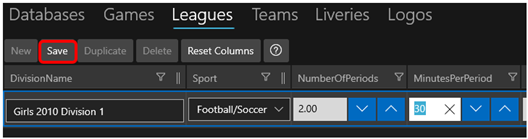
Lastly, you will need to ensure that the time per half for the game to be played matches what is in SSC. To do this you will need to go to the Data tab at the top of the screen and then the Leagues tab within the sub-tabs.
From this grid locate the MinutesPerPeriod entry and double-click the entry if it needs to be updated.
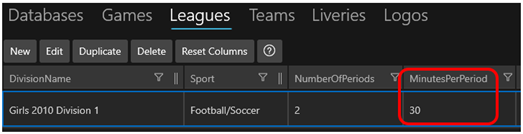
Once you have the entry updated to the correct number, click Save at the top of the grid.
Recording Settings
Leave the “This Game is…” section set to Live Now

Under the “Choose capture devices” section you will use the drop-down boxes to select the video capture device that you are using

Under the ”Choose recording settings” you will find the settings that will determine the quality and size of the file that records to your laptop. It is best practice to match the output of your camera so to prevent your device from having to any additional conversions.

IMPORTANT: We highly suggest that you test several different settings (slowly scaling up) prior to your actual first livestreamed game day.
NOTE: Recording a video file to your laptop is optional and should only be done by those users whose hardware exceeds the minimum hardware requirements for the application.
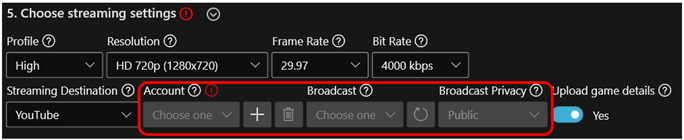
Streaming Settings
NOTE: The screenshot above is the most common setup and is a good starting point.
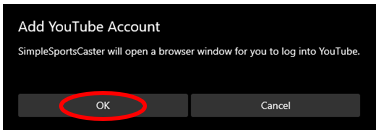
The next step is to connect SimpleSportsCaster to YouTube. Click the plus sign next to Account. Then click OK on the pop-up asking for permission to open a browser window.
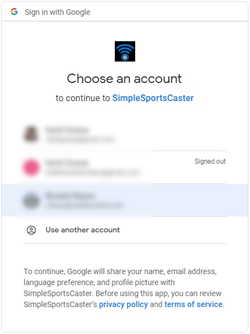
Choose the YouTube account that you would like SSC to livestream to, then click Open SimpleSportsCaster to return to the application.

You are now ready to move to the Game tab of SimpleSportsCaster. You can do this by clicking Game at the bottom of the page or using the tabs at the top of the page.
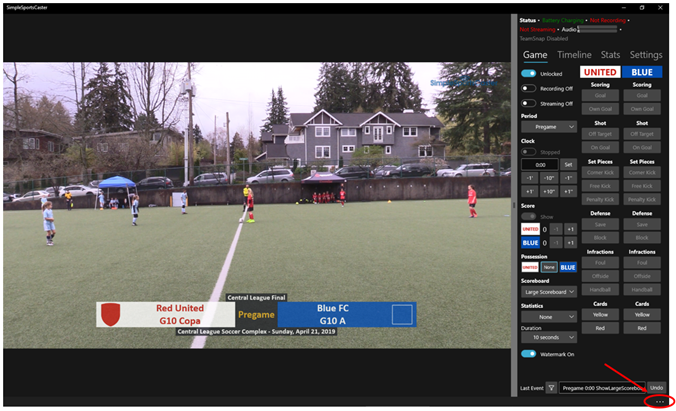
Game Settings
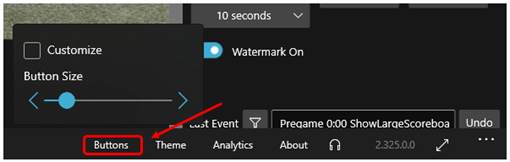
The first thing that you want to do is adjust the size of the buttons to your liking. This can be done by hitting the ellipsis (three dots) at the bottom right of the screen.
Then click Buttons and from the expanded section you can then adjust the slider to your button size preference.
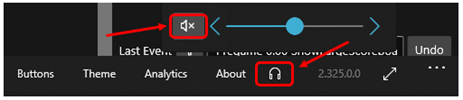
Check to ensure that your recording is picking up Audio via the audio monitor at the top of the screen
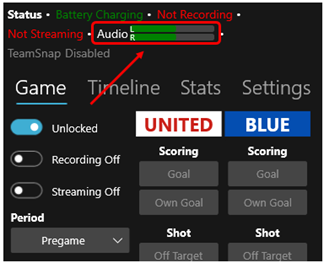
Or by listening to the audio through your laptop/pc. To do this you will need to click the Ellipsis on the bottom right and click the Headphone Symbol. Then click the Speaker to unmute the audio output.
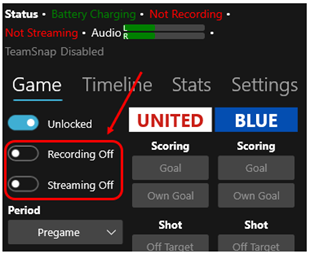
To begin streaming and/or recording the game you will toggle the two switches located at the top of the buttons view.
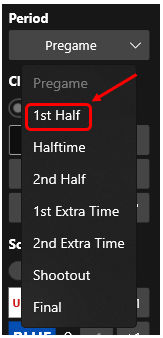
The game will automatically begin with the Period set to “Pregame”. A minute or so before kick-off you will manually adjust the Period to 1st Half.
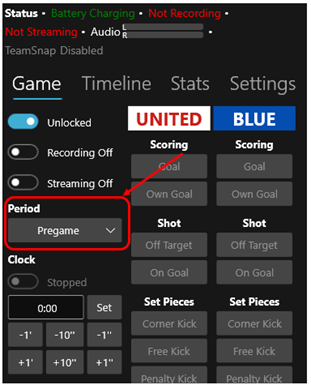
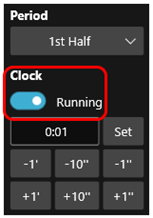
At kick-off (whistle blow) you will start the game clock by toggling the Clock from Stopped to Running
When a team scores a goal you can either add a goal to a team by each the Goal buttons at the top right or the +1 buttons at the center left of the Game Buttons page.
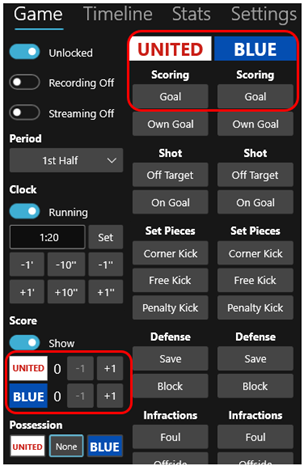
Any errors made while using the tool should be corrected by hitting the Undo button at the bottom of the Game Buttons page.

Use the Periods drop-down to move the game to Halftime once the 1st Half completes. Repeats steps 6-9 for the 2nd Half of the game.
At the final whistle use the Periods drop-down to move the game to Final. After a minute or so go ahead and stop the stream (and recording) by toggling those buttons off.
Beta Was this translation helpful? Give feedback.
All reactions