⚠️ Note: New server is out! Check out the new official server software for a quick and easy way to set up rplace yourself.
- New server download can be found at (https://github.com/Zekiah-A/RplaceServer/releases)
- Info on this guide that is not struck out is likely still valid for new server, and can be followed as directed.
Setting up a custom server that users can connect to via the posts menu is very possible provided you follow the rules outlined in the README, this guide will help you along the way of setting up a shiny custom rplace server, with whatever canvas, chat or cooldown rules you like!
- To run a rplace custom server, you require:
- Acess to a
serverorPCcapable of running node. - Acess to your routers/server's
port forwardingrules in order to connect your custom server to the internet - A
web domainfor https connections [will be outlined later in this document]
- Acess to a
- If you encounter a bug, please ask us on the discord or submit a github issue.
- Make sure that you are running the latest versions of runtimes and libraries, such as the latest dotnet, or you may encounter issues.
- Read the instructions carefully, the order of what you do does matter.
-
Get a web domain, this can be done by visiting free domain sites such as noip.com:

-
Port forward ports 80 (will be used by certbot), 443 (web socket), 8080 (place file server) to the computer you decide to use to host the server


-
Install the latest versions of (
certbot), (nodejs) and (npm), on debian based distrobutions you may need to install from a ppa as the packe manager vesion is likely outdated. If your system doesn't come with git by default, test by enteringgitinto the terminal and observing if there is an error, the install the latest version of (git) as well.

- Use certbot to set up the keys and certificates on the computer you would like to use

5. Clone the rslashplace2.github.io github repository, it may take a while because we pack in all node modules
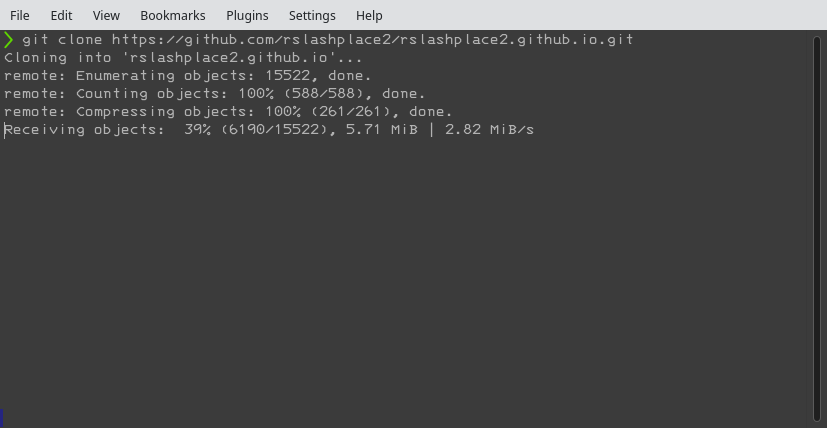
6. Enter the rslashplace2.github.io directory cloned to your system.
7. Run ./newboard.sh [canvas width] [canvas height] [cooldown in seconds] to generate a new config.json file e.g ./newboard.sh 500 500 1.
8. Open config.json in a text editor, set "USE_GIT" to false to disable the canvas backup system, set "USE_CAPTCHA" also to false, make sure "USE_CLOUDFLARE" is set to false.
9. Open server.js in a text editor.
10. Set PORT in server.js to 443, or whatever port you forwarded for the websocket server.
11. Set the key: and cert: variables to the path that certbot gave you for your domain keys and certificates, e.g cert: await fs.readFile('../etc/letsencrypt/live/server.rplace.tk/fullchain.pem'),.
14. In a new terminal, enter the place_http_server directory.
15. Modify the server.js file in this directory, and set the PORT to 8080, or whatever port you forwarded for the place file server.
16. Set the key: and cert: variables in this file to the path of the keys and certificates certbot gave you (should be same as what was in server.js).
17. With your terminal that is in the rslashplace2.github.io root directory, run sudo npm install to install all dependencies that did not make it into the git repo, and then sudo node server.js to start up the websocket server.
18. With the terminal in the place_http_server directory, run sudo npm install to install all dependencies that did not make it into the git repo, and run sudo node . to start up the place file server. (NOTE: On the place http server, you may need to do "npm install serve-index cors")
19. If you encountered no errors, Bon Voilà, you have set up an rplace custom server acessable from in the game.
20. If you did encounter errors, no worries, visit the rplace discord, acessable through out site https://rplace.tk and ask one of the admins (our usernames are usually @BlobKat/@zekiahepic), and we will try our best to assist you!