Please read everything in this document very carefully.
We will mention often in our test cases to enter something, such as a number or a String. Omit the quotation marks when inputting and MAKE SURE TO ENTER THE INPUTS EXACTLY AS SHOWN/MENTIONED.
Before beginning the test cases, please make sure that all of the Classes (.java files) that were initially submitted in Vocareum exist.
ADDITIONALLY, please make sure that only the .txt files that were submitted in Vocareum exist (These text files are Courses.txt and People.txt). If there are any other .txt files, please delete them. For the .txt files that are supposed to exist, make sure to delete ALL the contents in the files.
If for any reason you would like to restart the entire testing process, delete all text files besides the Courses.txt and People.txt file, and delete all other .txt files. Additionally, delete all the contents in the Courses.txt and People.txt files.
Not taking these steps before using the program can lead to errors.
All tests are meant to be done chronologically; we have chosen the order of tests we did to simulate as if a user was actually using the program in a realistic way.
These tests assume that you are using one machine (so the server side code and client side code is running on the same machine) and that one user is logged in at a time.
(The reason why we designed the test cases like this is because we are assuming that you will only use one machine. We fully demonstrate our program's ability to have multiple people using multiple different machines in the presentation video, where we demonstrate our code’s use of proper concurrency and Network I/O. Furthermore, we see instant real time updates in the demonstration).
To begin the test, first run the LmsMain.java class; you will be running the server side code. After the server is running, please run ClientOne.java class, which is the class that contains the code for the client side.
When you do these two things, you should see a start menu pop up:
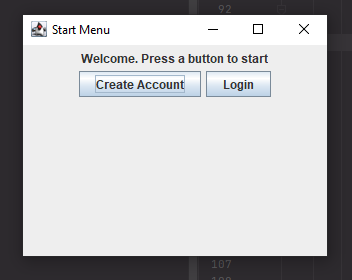
-Step 1: Once on the start menu (picture shown above), press the “Create Account” button, and you should see this window pop up:
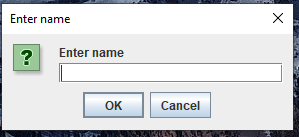
-Step 2: In the text field, enter the name “studentName” (for the purposes of this test, we are using this particular name) and press the “OK” button.
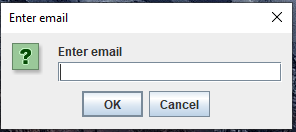
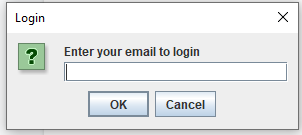
-Step 3: A new JOptionPane will show up, asking you to put in your email (image shown below). In the text field, enter “studentEmail” and press the “OK” button.
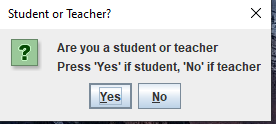
-Step 4: Once you enter the email, you should see a JOptionPane that looks like the image below:

Since we are making a student account, press the “Yes” button. (After you press the Yes button, there should be no errors making the account, so the JOptionPane should disappear and all you should see is the Start Menu JFrame)
Expected Result: Successfully entered the account info through the JOptionPane windows and no error messages should pop up, which indicates that we have successfully created our student account
Test Status: Passed
We just made our student account, and now we are going to make a student account. You should at this point only see the Start Menu.
-Step 1: press the “Create Account” button, and you should see this window pop up:

-Step 2: In the text field, since we are making a teacher account, enter the name “teacherName” and press the “OK” button.
-Step 3: After step 2, you should see this JOptionPane

Now, for the email address, enter “studentEmail” and press the “OK” button.
-Step 4: After step 3, you should see this JOptionPane error message:
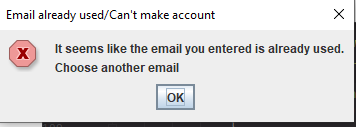
We are getting an error message because remember, we already made an account using “studentEmail” (the unique identifier for every account is the email address used to create the account). Therefore, we must choose another email to create our teacher account. So let’s do that. Press the “OK” button that’s on the JOptionPane error window and we should be redirected to the “Start Menu” JFrame.
-Step 5: Redo steps 1, 2, 3, but for step 3, use “teacherEmail” as the email we are going to use to create our account.
-Step 6: Once we do step 5, we should get this JOptionPane message:
Since we want to make a teacher account, press the “No” button, and afterward, we should only see the “Start Menu” JFrame. We have now successfully created the teacher account.
Expected Result: We tried to create a teacher account with the name “teacherName” and email “studentEmail”, but received an error notifying us that the email was already used. Therefore, we used the email “teacherEmail” instead, and we successfully created our teacher account afterward.
Test Status: Success
After finishing Test 2, we should see the “Start Menu” JFrame.
-Step 1: On the “Start Menu” Jframe, there should be a “Login” button. Press the “Login” button. We should see this prompt:
-Step 2: enter “teacherEmail” in the text field and press the “OK” button to login. You should see the teacher menu JFrame:
Expected Result: login using our email that we made for the teacher account, and once logged in, see the teacher menu.
Test Status: Passed
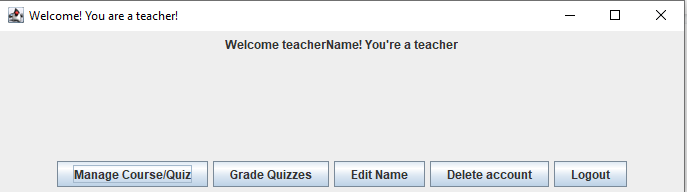
Once we finish Test 3, you should see the teacher menu option that has the welcome message as well as buttons regarding what the teacher account can do. Let’s manage courses.
-Step 1: On the teacher menu JFrame, press the “Manage Course/Quiz” button. You should be redirect to this JFrame:

We should see nothing besides the buttons because no courses have been made yet. Before we create a course, let’s press “edit course”.
-Step 2: Press the “Edit Course” button to show this JOptionPane:
-Step 3: Enter a String (any String) or no String, and press the “OK” button. You should see this error message:
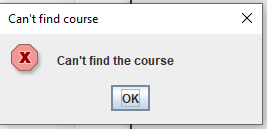
This is expected, since no matter what String we put, it won’t indicate any course the teacher made because the teacher has made no course.
-Step 4: Press the “OK” button on the JOptionPane error message and then press the “Delete Course” button. You should see this prompt:
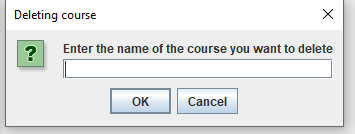
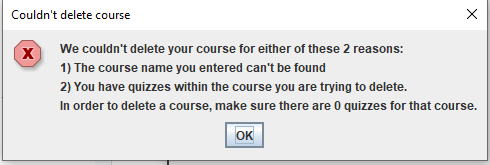
-Step 5: In the text field, enter any String, or no String, and press the “OK” button. We should receive this error message since there are no courses to delete as of right now.
-Step 6: Press the “OK” button to display only the “Your Created Courses” JFrame. -Step 7: Press the “Create Course” button and you should see this prompt:
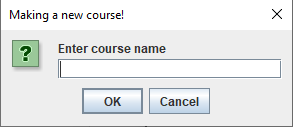
-Step 8: In the text field, enter “Course1” and press the “OK” button. As soon as you press the “OK” button, you should see that the “Your Created Courses” window looks like this:
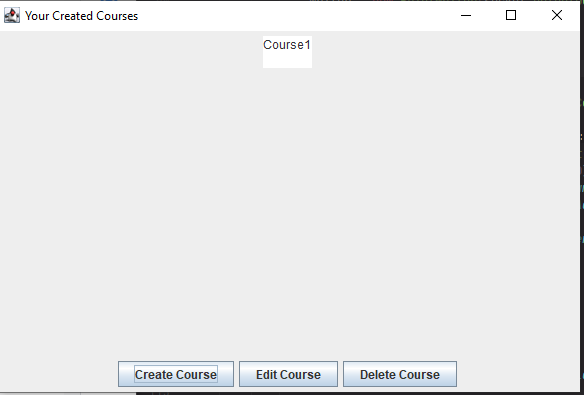
Notice that there are real time updates happening: as soon as a course is made, that action is immediately reflected automatically.
Expected Result: Teacher that’s logged in goes to see their created courses and tries to edit and delete a course that doesn’t exist, therefore getting a JOptionPane error message. Therefore, the teacher tries to create a course called “Course1”, and that action is reflected immediately and automatically.
Test Status: Passed
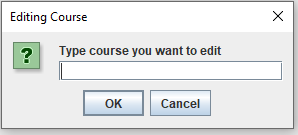
-Step 1: Now that we made the “Course1” course, let’s edit that course to manage quizzes. Press the “Edit Course” button, and enter “Course1” in the text field of the JOptionPane. Press the “OK” button and you should see this JFrame now:
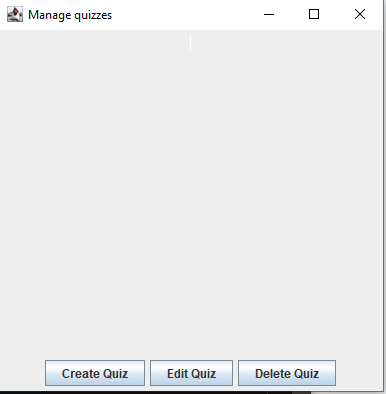
-Step 2: Press the “Create Quiz” button to see this prompt:
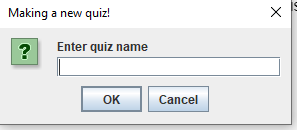
-Step 3: Enter the quiz name “Quiz1” in the text box and press the “OK” button, to which you will see this JOptionPane:
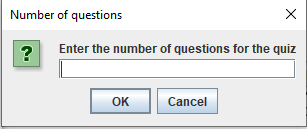
-Step 4: Enter the number “1” in the text box and press the “OK” button. You will see this JOptionPane now:
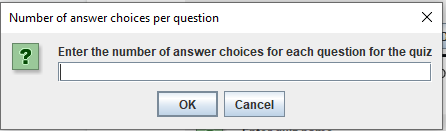
-Step 5: Enter the number “1” in the text box and press the “OK” button. You will then see this JOptionPane:

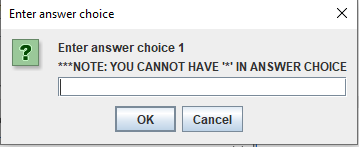
-Step 6: In the text field, enter “Question 1?” and press the “OK” button. You will then see this JOptionPane:

-Step 7: In the text field, enter “Answer 1” and press the “OK” button.
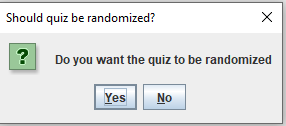
-Step 8: After you finish making the quiz question and answer choices, you should see this JOptionPane:

-Step 9: Press the “No” button to NOT randomize the order of questions and answer choices for each question.
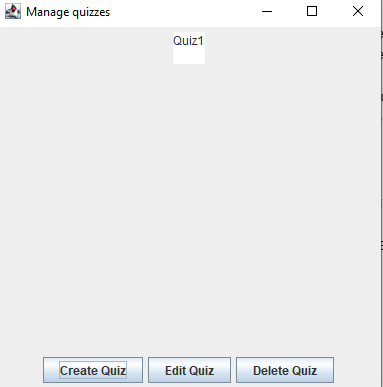
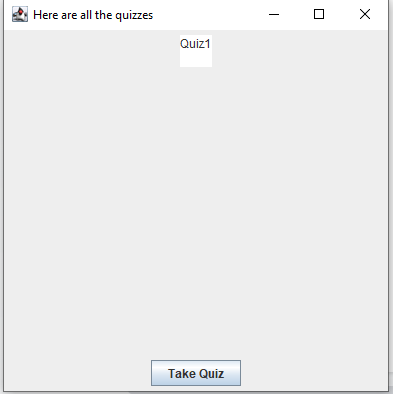
-Step 10: If you followed the steps correctly up to now, there should be no JOptionPane and only the JFrame that looks like this:

Notice how as soon as the quiz is finished being made, there are real time updates displaying the new quiz we just made in the quizzes menu JFrame.
Expected Result: Teacher successfully edits a course and creates a quiz
Test Status: Passed
We just made a quiz, but let’s edit the quiz. You should still be seeing the JFrame shown in the picture in Step 10 of Test 5.
-Step 1: Click the “Edit Quiz” button to get a JOptionPane that looks like this:
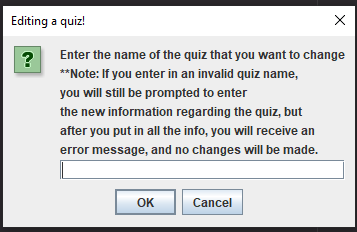
-Step 2: Enter “Quiz1” (The name of the quiz we want to edit) in the text box and press the “OK” button. You will see this JOptionPane afterwards:

-Step 3: Enter the number “3” in the text box and press the “OK” button. You will see this JOptionPane now:

-Step 4: Enter the number “3” in the text box and press the “OK” button. You will then see this JOptionPane:

-Step 5: In the text field, enter “What’s 1+1?” and press the “OK” button. You will then see this JOptionPane:
-Step 6: In the text field, enter “1” and press the “OK” button. You will see the above JOptionPane again but it will ask you to enter answer choice 2.
-Step 7: In the text field, enter “2” and press the “OK” button. You will see the JOptionPane again asking for answer choice 3.
-Step 8: In the text field, enter “3” and press the “OK” button.
-Step 9: Now, you have made the first question and the 3 answer choices for the question. Since we indicated that we wanted to have 3 questions in total with 3 answer choices for each question, you will see JOptionPanes again that will ask you for the 2nd question, and then you’ll be prompted to enter 3 answer choices for that question.
Afterward, you’ll be asked again to enter the 3rd question, and then you’ll be prompted to enter 3 answer choices for that question. Read below to see what to enter when making the rest of the quiz.
For the 2nd question, make this String the question: “What’s 2+2?”
For the 2nd question, make the 1st answer choice this: “4”
For the 2nd question, make the 2nd answer choice this: “5”
For the 2nd question, make the 3rd answer choice this: “6”
For the 3rd question, make this String the question: “What’s this class?”
For the 3nd question, make the 1st answer choice this: “CS 18000”
For the 3rd question, make the 2nd answer choice this: “CS 19300”
For the 3rd question, make the 3rd answer choice this: “CS 24000”
-Step 10: After you finish making the quiz question and answer choices, you should see this JOptionPane:
-Step 11: Press the “Yes” button to randomize the order of questions and answer choices for each question.
-Step 12: If you followed the steps correctly up to now, you should see a JOptionPane that says "Successfully edited quiz" and there should be a JFrame that looks like this:
Expected Result: Teacher successfully edits a quiz
Test Status: Passed
-Step 1: Starting from the “Manage Quizzes” JFrame which is where we ended Test 6, click the “X” at the top right corner of the JFrame. You should see the “Your created courses” JFrame.
-Step 2: On the top right corner of “Your created courses” JFrame, click the “X’. You should see the teacher menu JFrame.
-Step 3: In order to logout, either click the “Logout” button or the “X” at the top right corner of the teacher menu JFrame. You should see the start menu screen that has the “Create Account” button and “Login” button. You’ve successfully logged out of your account.
Expected Result: Starting from the quiz JFrame, a teacher was able to logout of their account
Test Status: Passed
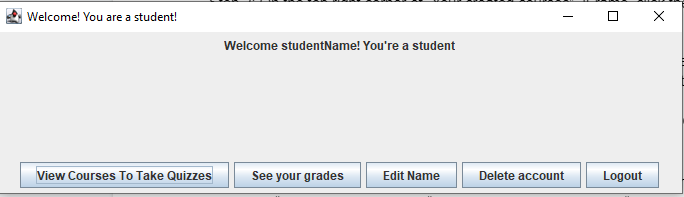
-Step 1: using the student account we made earlier, let’s login to our student account. Click the “Login” button on the “Start Menu” JFrame, enter “studentEmail” (this was the email we used earlier to create the student account) in the text field, and press the “OK” button. You should see this student menu after logging in:
Expected Result: user successfully logs in as a student and sees the student menu.
Test Status: Passed
-Step 1: From the student menu, press the “View Courses To Take Quizzes” Button. You will see this on your screen afterward:
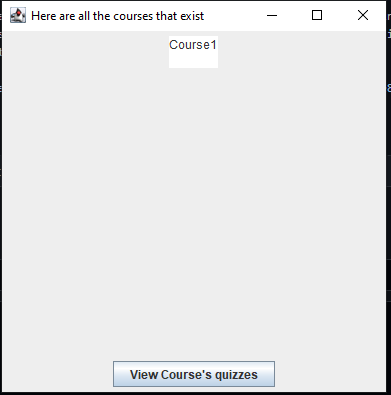
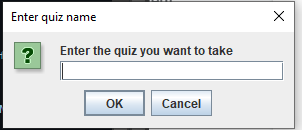
-Step 2: Press the “View Course’s quizzes” button and you’ll see this JOptionPane:
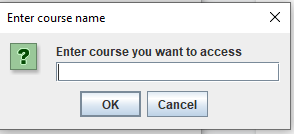
-Step 3: Enter “Course1” in the text box and press the “OK” button. You will see this JFrame now:
-Step 4: Press the “Take Quiz” button to see this JOptionPane:
-Step 5: In the text box, enter “Quiz1” in the text field and press the “OK” button to take the quiz and see a JOptionPane that should be SIMILAR (MAY OR MAY NOT BE EXACT SAME) afterward:
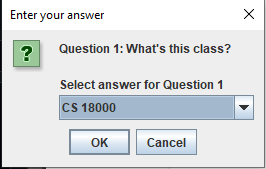
**Important note: Remember, when we were the teacher and we made this quiz, we chose to randomize the quiz. Therefore, the order of questions (and answer choices) you may receive might be different from the order we are going to use for this test. Even though when we (the test developers) ran this program and got the first question to be “Question 1: What’s this class?”, you might have gotten something different, which is perfectly fine. At this point, use the drop down menu to see the answer choices for each question, click an answer choice (it doesn’t matter which answer choice), and then press “OK” to move onto the next question. Since this quiz we are taking has 3 questions, you select an answer for each question and then at the end, you will see this JOptionPane after you answer all questions:
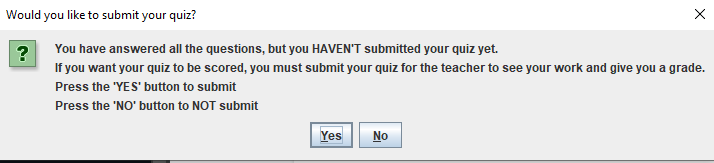
-Step 6: We want to submit our test, so click the “YES” button and you should see a confirmation JOptionPane like this (the submission time and date will be different for you, and that’s expected):
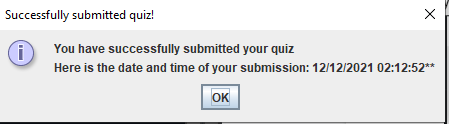
-Step 7: Press the “OK” button and you should see this JFrame reappear:

Expected Result: the student chooses the course, the quiz, takes the quiz, and successfully submits their quiz.
Test Status: Passed
Test 10: Making sure Data Is Saved Even if User doesn’t log out or program crashes/shuts down through teacher logging in and grading the quiz taken.
We left off at the student submitting their quiz and seeing the list of quizzes that exist (The JFrame shown in Step 7 of Test 9).
-Step 1: Stop the server side and client side code (LmsMain.java and ClientOne.java). After you do this, there should be no JOptionPanes or JFrames showing.
-Step 2: Rerun the server side code (LmsMain.java) and client side code (ClientOne.java). You should see the Start Menu JFrame.
-Step 3: Press the “Login” button and login to the TEACHER account by entering “teacherEmail” in the text field and pressing the “OK” button. You should see the teacher menu JFrame afterward:

-Step 4: Now, press the “Grade Quizzes” button. You will see this window now:
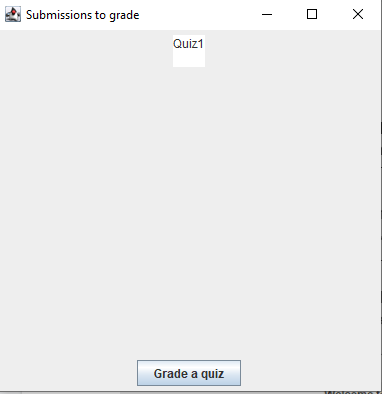
We see that the data regarding the student’s quiz submission is stored, and even if the server crashes, all data is saved.
-Step 5: Press the “Grade a quiz” button to get an JOptionPane that asks “Enter quiz to grade”.
-Step 6: In that JOptionPane that asks “Enter quiz to grade”, enter “Quiz1” and you should see something SIMILAR (DOESN’T HAVE TO BE THE SAME AS THIS) to this JOptionPane:
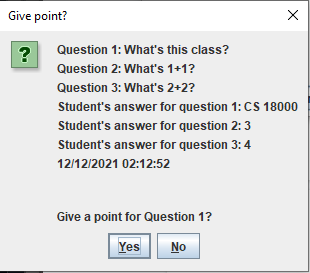
**Important note: While your JOptionPane probably won’t look like this (since the quiz was randomized), it should look similar to this. There should be 3 questions, followed by the 3 answer choices the student selected, and the time stamp. One important thing to note is that the order in which the student saw the questions is the order in which the questions should be listed in the JOptionPane above
-Step 7: NO MATTER WHAT QUESTION OR ANSWER CHOICE IS WRITTEN ON YOUR JOPTIONPANE FOR THE QUESTION AND ANSWER, JUST PRESS THE “YES” BUTTON REGARDLESS.
-Step 8: After you finished Step 7, you will see a JOptionPane again to decide whether you will give a point for the 2nd question. NO MATTER WHAT THE QUESTION AND ANSWER IS, JUST PRESS THE “NO” BUTTON REGARDLESS.
-Step 9: After step 8, you’ll be prompted with one more JOptionPane to decide whether to give a point for the 3rd question. NO MATTER WHAT THE QUESTION AND ANSWER IS, JUST PRESS THE “YES” BUTTON REGARDLESS”. Once you press “Yes”, there should be no JOptionPanes, and you should observe that the JFrame automatically updates since the “Quiz1” that was on the JFrame before disappears. The quiz has been graded now, and the student can see their response. Before we do that in our next test, press the “X” button at the top right of the JFrame to go to the teacher menu, and then press the “Logout” button or the “X” at the top right of the JFrame to go back to the Start Menu.
Expected Result: teacher successfully logs in after the server shuts down and sees the student’s quiz submission. The teacher grades the student’s quiz. Afterward, the teacher logs out.
Test Status: Passed
-Step 1: Press the “Login” button and enter “studentEmail” in the text field. Press the “OK” button to login and see the student menu JFrame. You should see this now:

-Step 2: Click the “See your grades” button and you will see this JFrame that looks SIMILAR (DOESN’T HAVE TO BE EXACT SAME):
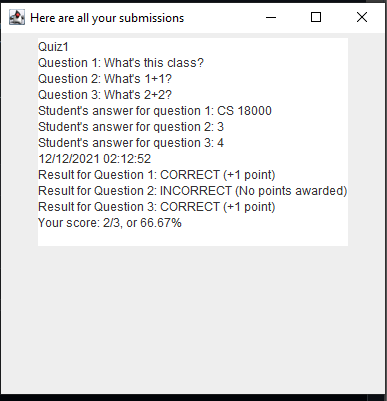
While the top part of the text area can be different from what you see above, the text starting below the submission time and date (in the example above, the submission time and date is referring to the line that says “12/12/2021 02:12:52”) should be the same.
Expected Result: student logs in and sees the teacher’s grade
Test Status: Passed
-Step 1: From the JFrame in Step 2 of Test 11, press the “X” on the top right of the JFrame and you will return to the student menu.
-Step 2: There will be a button that says “Edit name”. Click that button to see this:
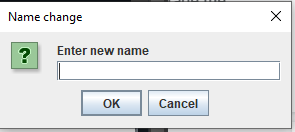
-Step 3: In the text box, enter “NewStudent” and press the “OK” button to see this now:
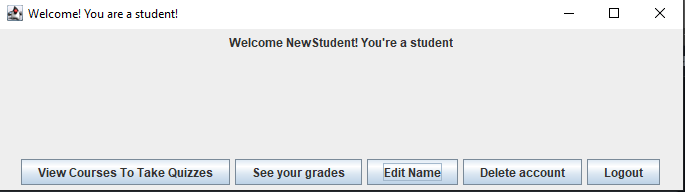
Notice how the name change is automatically reflected in the Welcome message in real time.
Expected Result: student changes their name successfully and sees their name change reflected in real time.
Test Status: Passed
-Step 1: From the student menu where we left off in Step 3 of Test 12, press the “Delete account” button, where you’ll be redirected to the start menu JFrame and a JOptionPane will also show up saying “Account has been deleted”.
-Step 2: Press “OK” on the JOptionPane and then press “Login”.
-Step 3: Enter “studentEmail” in the text box and press “OK”. You will see this JOptionPane:
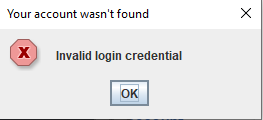
This is expected since we just deleted our student account.
Expected Result: student deletes their account. When trying to login using the account the student used to make the account that was just deleted, an error message pops up for the user.
Test Status: Passed