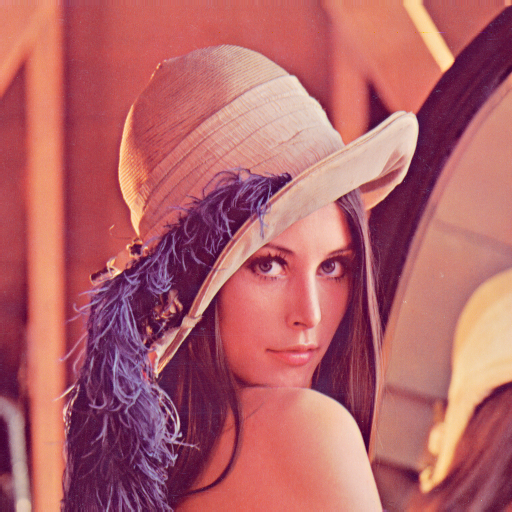
Let's convert an image into greyscale using the Pillow library, which is a fork of PIL 'python image library'. First download the file from here and place it in the same directory as your code (or save it anywhere and use an absolute path when opening it). If you don't have pillow installed, run pip install pillow in a terminal. You can check if pillow using pip show pillow.
Use the formula for converting to greyscale and the code below. Remember that Pillow uses ints for RGB values, in the range of 0-255, whereas your math will often use floats. 'Y' is used to represent the brightness. The following formula get the brightness of an RGB triplet. To convert to greyscale, set R, G, and B to Y.
Y = 0.299*R + 0.587*G + 0.114*B
from PIL import Image
img = Image.open("lenna.png") # must be in same folder
width, height = img.size
pixels = img.load()

for i in range(width):
    for j in range(height):
        r, g, b = pixels[i, j]

        # your code here

        pixels[i, j] = (r, g, b)

img.show()Use the colorsys library to increase the saturation, decrease the brightness, and rotate the hue. Colorsys represents colors as floats in the range 0.0 - 1.0, whereas pillow uses ints in the range 0 - 255. You'll have to convert between these two representations.
import colorsys

# colorsys uses colors in the range [0, 1]
h, s, v = colorsys.rgb_to_hsv(r/255, g/255, b/255)

# do some math on h, s, v

r, g, b = colorsys.hsv_to_rgb(h, s, v)

# convert back to [0, 255]

r = int(r*255)
g = int(g*255)
b = int(b*255)Pillow can also be used to draw, the code below demonstrates some functions that Pillow provides. Use these functions to draw a stick figure. You can find more documentation here.
from PIL import Image, ImageDraw

width = 500
height = 500

img = Image.new('RGB', (width, height))

draw = ImageDraw.Draw(img)


# the origin (0, 0) is at the top-left corner

draw.rectangle(((0, 0), (width, height)), fill="white")

# draw a rectangle from x0, y0 to x1, y1
draw.rectangle(((100, 100), (300, 300)), fill="lightblue")

# draw a line from x0, y0, x1, y1
# using the color pink
color = (256, 128, 128)  # pink
draw.line((0, 0, width, height), fill=color)
draw.line((0, height, width, 0), fill=color)


circle_x = width/2
circle_y = height/2
circle_radius = 100
draw.ellipse((circle_x-circle_radius, circle_y-circle_radius, circle_x+circle_radius, circle_y+circle_radius), fill='lightgreen')

img.show()
Try running the code below, which generates 1000 random lines with random colors.
from PIL import Image, ImageDraw
from random import randint

width = 500
height = 500

img = Image.new('RGB', (width, height))
draw = ImageDraw.Draw(img)

for i in range(1000):
    x0 = randint(0, width)
    y0 = randint(0, height)
    x1 = randint(0, width)
    y1 = randint(0, height)
    line_width = randint(1, 40)
    red = randint(0, 255)
    green = randint(0, 255)
    blue = randint(0, 255)
    draw.line((x0, y0, x1, y1), fill=(red, green, blue), width=line_width)

img.show()